If you’ve ever found yourself ooh-ing and ahh-ing at someone’s Griswold-esque Christmas display and you’re wondering how to make your christmas lights look professional, this is the post for you! Following these tips, you’re sure to have the best Christmas light display in the neighborhood.
Hanging Christmas lights has been a hobby for me for as long as I can remember. As a teen, my dad and I used to do it every year putting on one the best light shows in Tampa. With over 256 individual extension cords (channels) connected to 16 separate computers we were able control over 70,000 LED christmas lights that danced to holiday music. Over the years, we learned and developed several techniques, tips and tricks that I’ve now carried over to my own home for the best Christmas light display. With these tips you’ll learn how to make your Christmas lights look professional.
How to store your Christmas lights
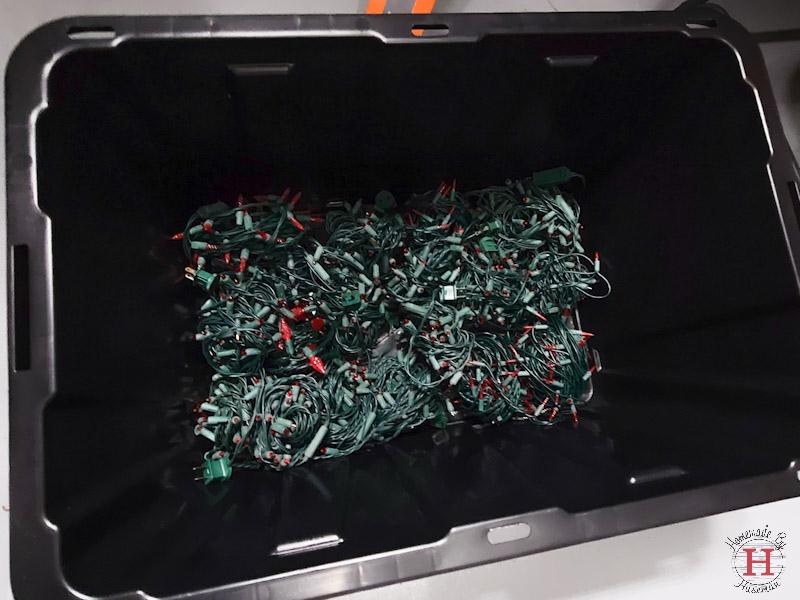
Keeping lights organized in tubs sounds easy, but there is a way to properly store your Christmas lights to avoid the tangled and mangled web of lights. This tip may not be helpful this year, but we promise you’ll thank us next year. At the end of each year, wrap your lights backwards from the way they were hung.
When you start stringing lights you’ll want to start with the “male” end of the plug and then you hang from there. For easy wrapping of trees or hanging on the roof, place the “female” of the light string in the palm of your hand, then wrap into a ball around your hand. Place the ball into your storage container. Now when you start for next year, the male end will be easily accessible to start wrapping your trees or strining roof lights and you can slowly unroll the ball of lights.
We recommend storing your Christmas lights by placing them in a large plastic bin. Once your lights are in the container, you can layer cardboard on-top of the lights already in the box to prevent them from getting tangled up.
Test Every Strand of Christmas Lights Before Hanging Them
Going back to our favorite Clark Griswold, one of our favorite movie scenes is the highly anti-climactic light plug-in when nothing works. It’s the WORST. If you want to make your Christmas lights look professional, you certainly don’t want one random string to be out in the middle of your display.
The easiest way to prevent this is by testing every single strand before hanging a single string. A very simple step, but it’s often forgotten.
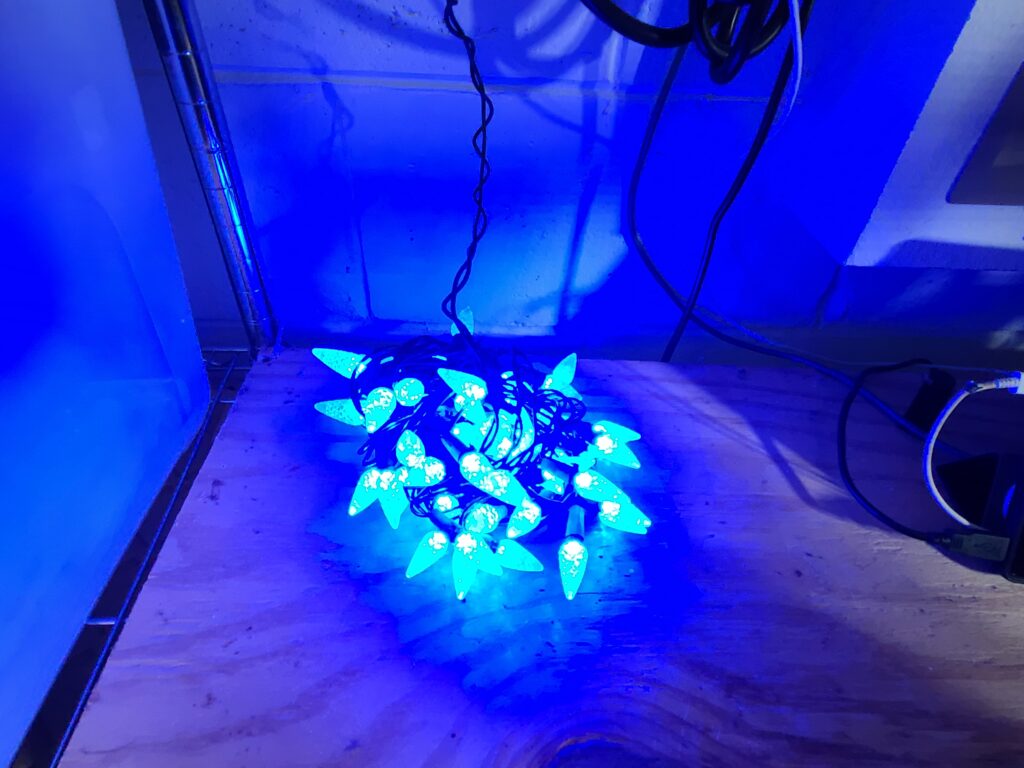
Use LED Lights to Make Your Christmas Lights Look Professional
If you’re still using the old school incandescent Christmas lights, we highly recommend upgrading to an LED display. Not only are they more vibrant to make your Christmas lights look professional, but they also offer other benefits like lasting longer and using less electricity.
They’ve come a long way with LEDs now too, so if your partial to the classic warm white look, that’s avaiable now in LED as well. While they may seem more expensive they’ll save you money in the long run by using elecrticity and not having to replace them every other year.
Prepare with Easy Access Bin to Install
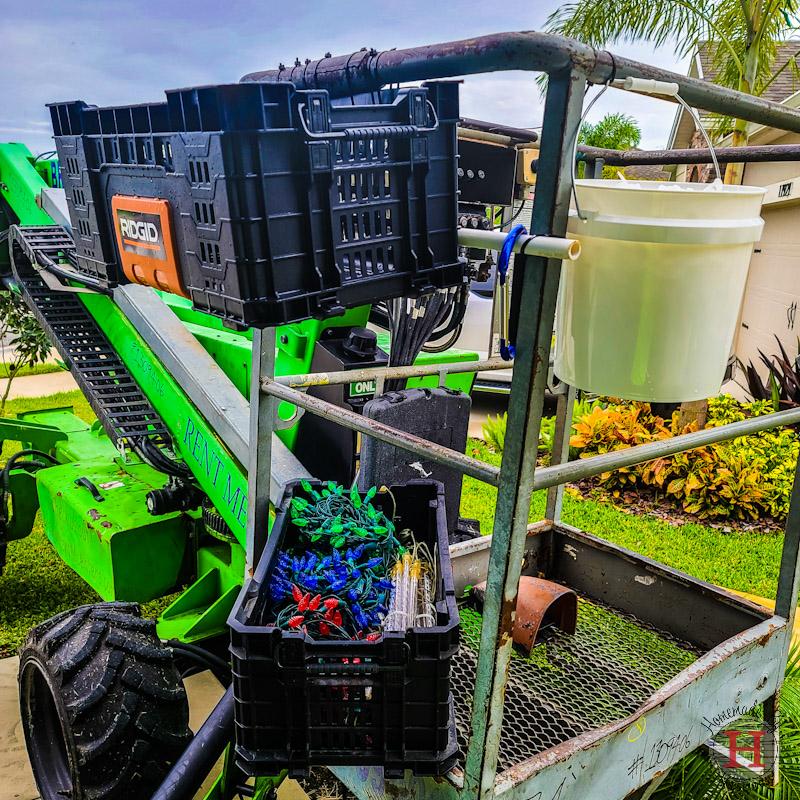
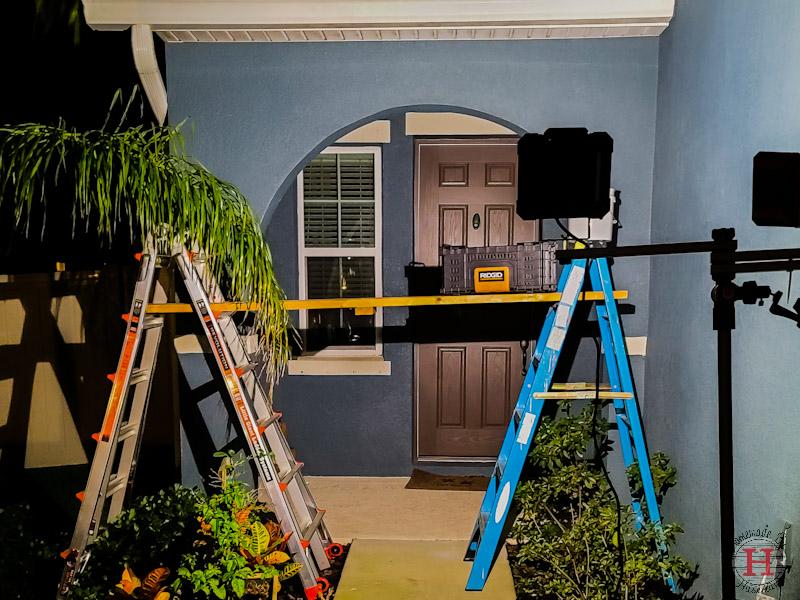
Whether I am working on the roof or the ground, I like to pack all the lights, zip ties, and necessary tools into a work bin. The Ridgid Pro box has an open top making it great for the grab and install. It is constructed out of durable plastic making it super sturdy. I like to keep this with me on a scaffold or I will zip tie this to the side of my boom lift rental to help expand on the storage and keep me organized in the air.
Wear a Tool Belt
Because I use so many roof clips, I pack my framers tool belt with as many clips as I can carry. You might feel a little silly wearing a tool belt for a task that doesn’t require a lot of tools, but this tip is more for your ease for a quick install. With a tool belt I can do more than a handful (or pocket full) at a time, and not risk the 5 gallon bucket rolling off the roof. The tool belt is also great for keeping tools (i.e. wire cutters) necessary at your side and ready for use.
Using Ladders and Scaffolds To Install Christmas Lights
Tired of constantly moving your ladder every time you need to continue hanging lights? You can borrow a neighbor’s ladder and buy 2×6 whitewood boards from a local home improvement store. Lay the lumber on the treads of the ladder to create a walking platform. Just like that, you have increased your working zone from 3 feet to almost 9 feet wide. This is a perfect option for first-story roof lines.
Every bulb gets roof clip:
Clean and Crisp… That is what made Huseman Family Lights the product it was. Yes, every single bulb gets a roof clip. If you’re wondering how to make your Christmas lights look professional, this is the biggest secret! This gives the lights that “airport runway” effect. In our current house, I have two 5 gallon buckets worth of roof clips. Between those buckets I am able to hang about 32 strings of lights.
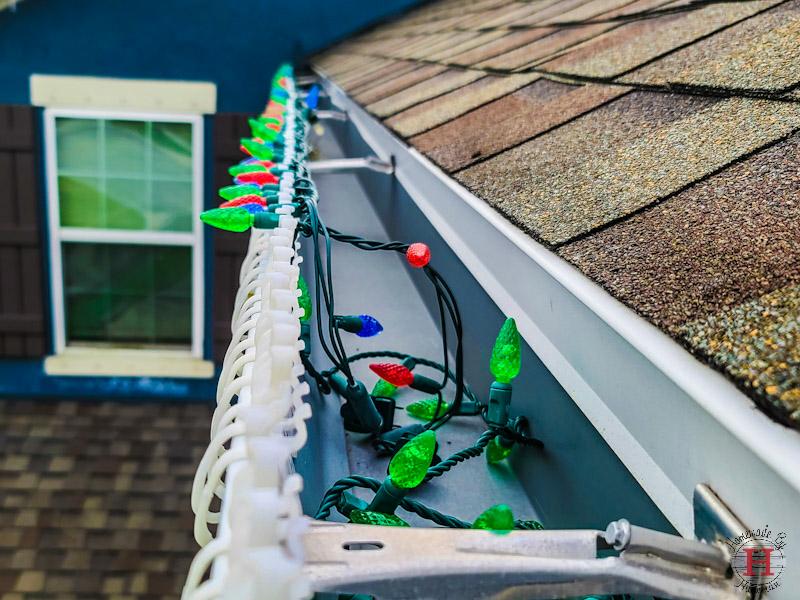
Use Zip Ties:
Zip ties are used by the hundreds! Whether for temporary or for the full length of the season, you can never use too many. Zip ties will help you create a super clean looking display during the day. Some strings of lights come with long leads (the male plug end) and if you space your lights properly that lead could dangle. Take a couple of small zip ties and tie the lead up for a clean, finished look to your lights.
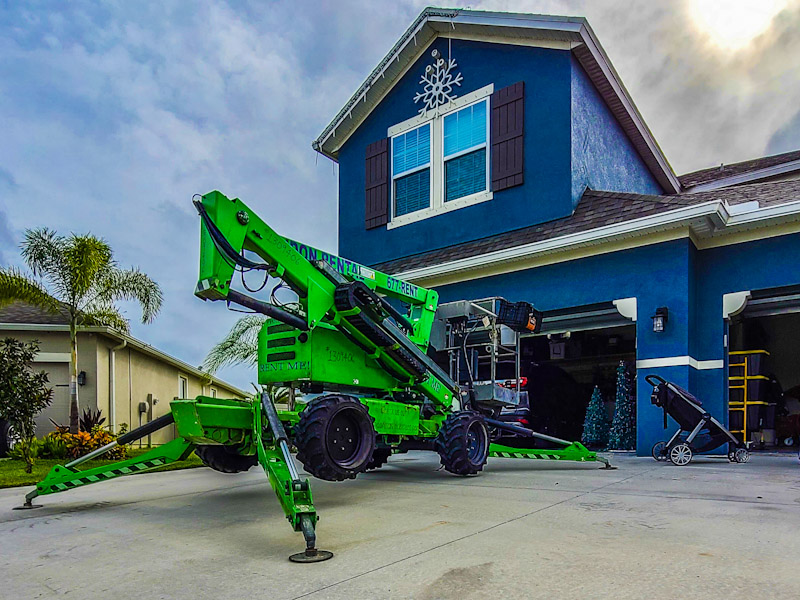
Reach the High Peaks With a Boom Lift:
We all know the scene from “Christmas Vacation” where Clark Griswold is hanging lights, slips off the roof and slings ice into his neighbor’s house…Here is a great way to prevent that. Although expensive, a boom lift can save you a lot of time and hassle! Even with the little giant ladder, getting to the top of a 2 story home can be sketchy especially on a windy day. And leaning over the edge of a 2-story roof to attach your roof clips isn’t exactly the most comfortable of positions.
The boom lift offers a secure way to hang your lights espically if you’re planning to hang a lot of lights. You can stand comfortably in the basket and not have to worry about the ladder slipping or moving it every 4 feet. The convenience of being able to stay in one spot and not having to constantly walk up and down the ladder will he a life saver on your legs as well.
Use Construction Lights When Working at Night
Rather than rushing to finish your lights before sunset when the daylight quickly disappears after Daylight Savings Time ends, you can keep working in the evenings with construction lights. I have been using the Ridgid Battery powered folding light to illuminate my work area. One battery will get me about 2 hours of work time on full brightness. I mount this light to a tripod to help spread the light over the entire work area.
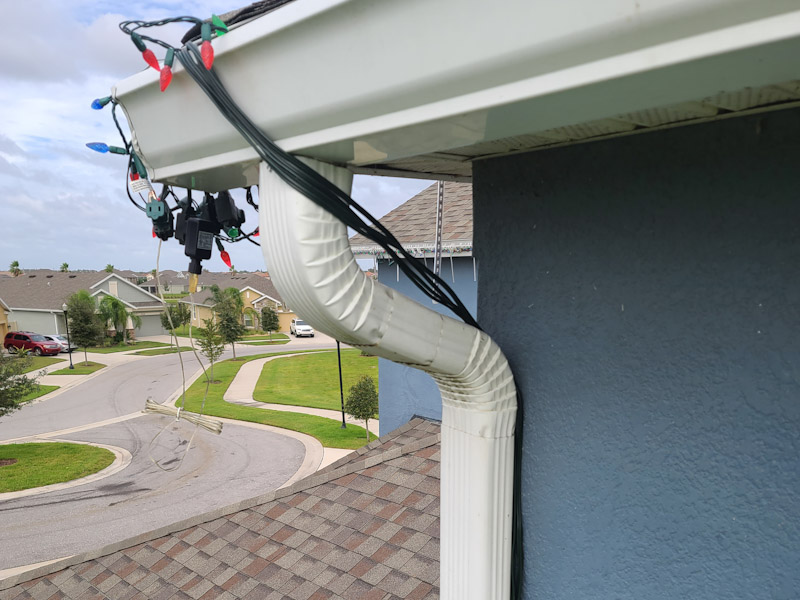
Hide Your Extension Cords
A clean and crisp look is essentail to make your Christmas lights look more professional. It allows people to focus on those beautiful lights rather than distracting cords dangling off the roof. There’s a few easy ways to this.
Our favorite way is using the gutters. Remember those zip ties? Take any excess between your strings of lights, bundle them, zip tie and and tuck them into the gutters. Be sure to leave room for the water to flow still and you’ll want to make sure the actual plugs aren’t in a spot where they may be sitting in standing water.
You can also use the downspouts to hide cords. I always try to end my lights where I have a down spout so I can run the extension cord behind the down spot and out of view from the street.
Following these tips we feel certain you’ll be able to make your christmas lights look more professional (without the added cost of hiring a professional) and your home will be the brightest and most beautiful in your neghborhood.
If you enjoyed this tip and tricks post, be sure to check out more of our tips and tricks post like this painting one.
Like this? Check out more of our latest posts.

A Homeowener’s Guide for Building an Accessory Dwelling Unit
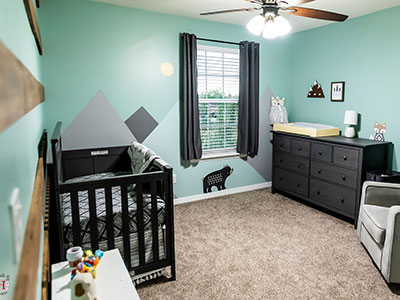
Inspiration for a Mountain Themed Nursery
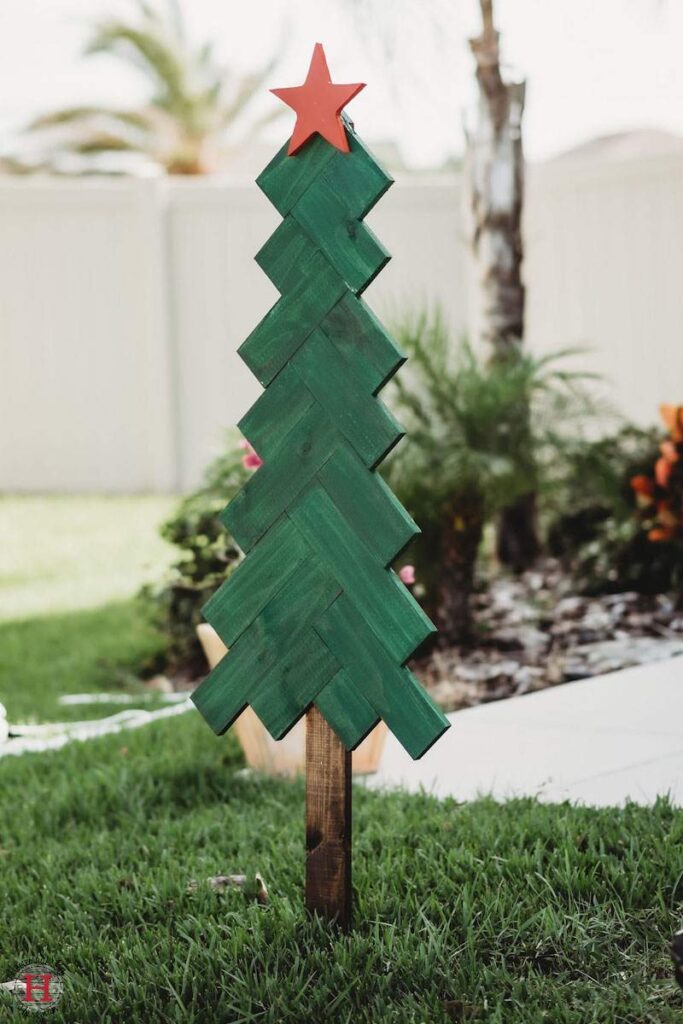
Charming DIY Wooden Christmas Tree with How-To Cut and Build Guide

Top 12 Must Have Tools for DIY
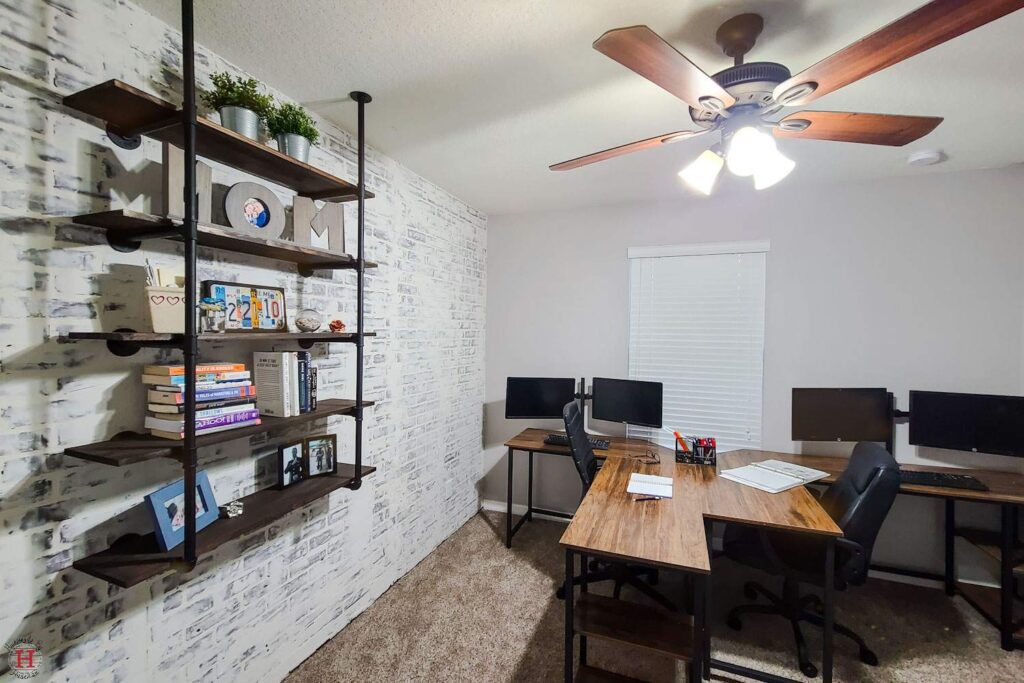
How to Build a Stunning DIY Faux Brick Accent Wall
HTV on Wood: How to Do It Right!
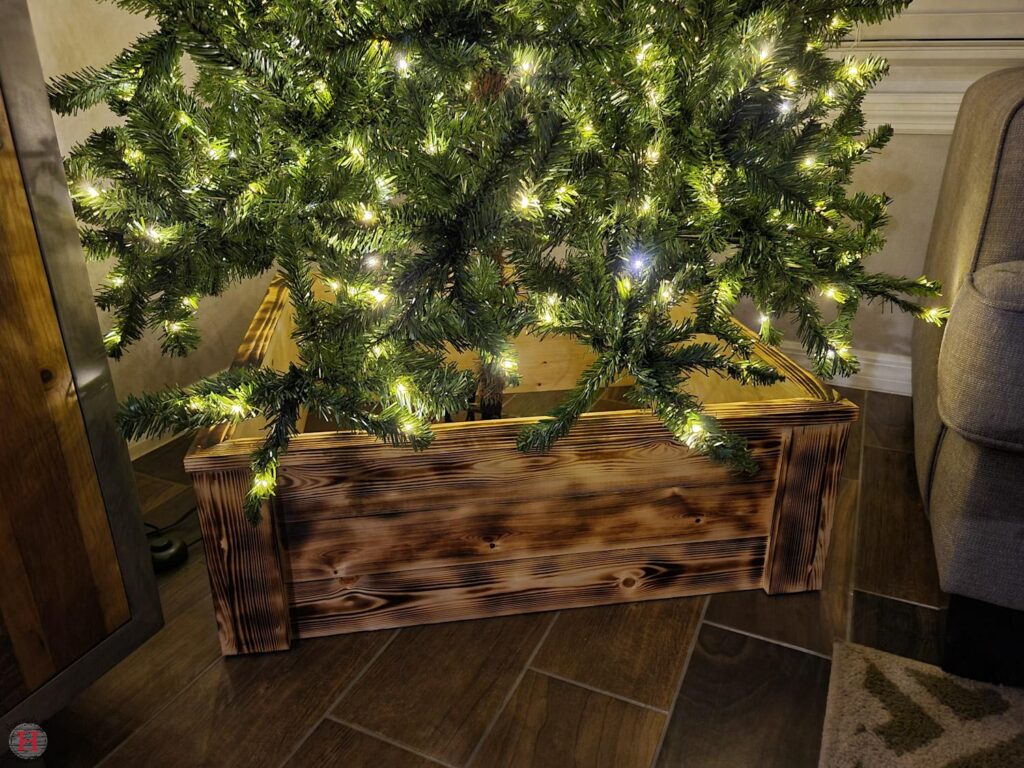
How to Build a Decorative Wooden Christmas Tree Box

How to Make Your Christmas Lights Look Professional

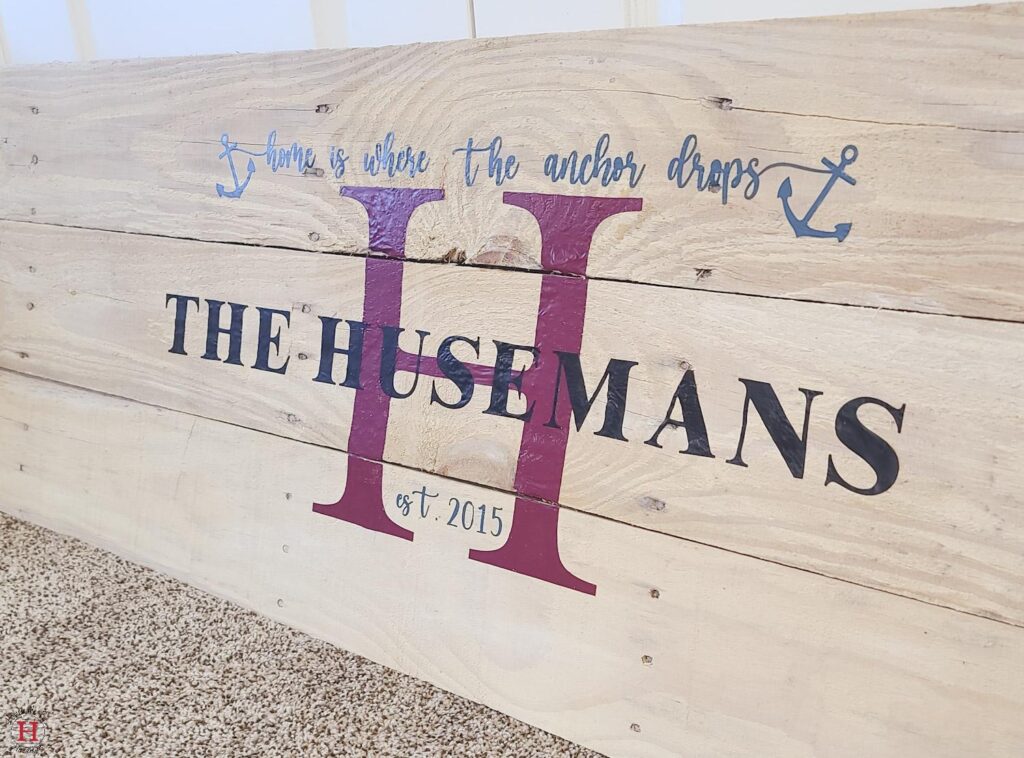
How to Make a Round Wood Door Sign
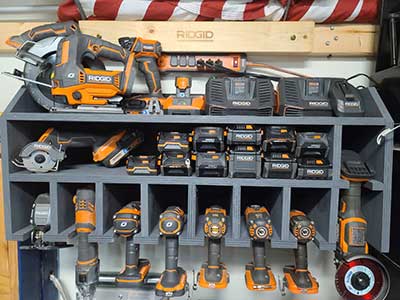
How to Build the Best Cordless Tool Storage with One Sheet of Plywood

Easy Bedroom Makeover Ideas You Can Actually Do
How to Create an Impressive Chevron Wall
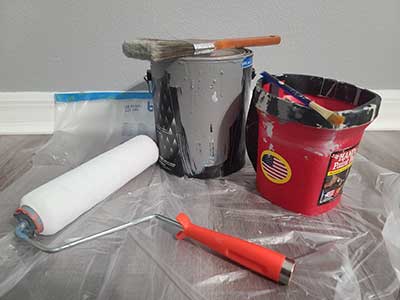
8 Tips for Painting a Room (that make it suck less)

How to use Avery Fabric Transfers with a Cricut
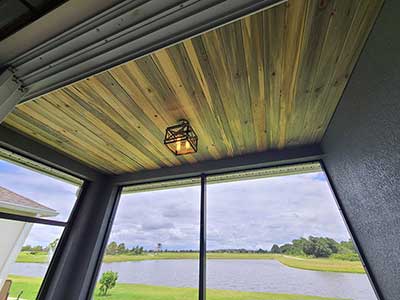
Installing a Tongue and Groove Porch Ceiling
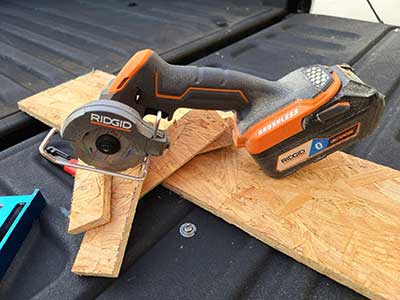
Tool Review: RIDGID 18-Volt SubCompact Lithium-Ion Cordless Brushless 3 in. Multi-Material Saw
Ridgid tools has recently introduced their Sub-Compact line of tools and they really mean compact! The RIDGID 18-Volt SubCompact Lithium-Ion Cordless Brushless 3 in. Multi-Material Saw is my first Sub-Compact tool from Ridgid, and I fell in love with it instantly! At first my wife was asking ”Why do you even need this saw, you already own one!” Once I showed her the comparison between my 7-¼’’ Ridgid Circular saw and this, it became clear that a saw this small has its purpose! If you are a remodeler, tile installer, or even flooring installer (and of course the typical DIYer)…

How To Build a Kids’ Climbing Ladder