If you love the idea of a fresh coat of paint on the wall, but dread the idea of actually painting, follow these 8 tips for painting a room.
It’s no secret. I HATE painting. Some people love it and I don’t understand them, but I often dread a room renovation because I know it means we have to paint. However, along the way, I’ve picked up some tips and tricks to make painting easier, have a more professional finish, and hate it a little less.
Don’t get me wrong, I love the finished product. A coat of paint on the walls alone can completely transform a room from a dull space to a warm and welcoming space, just check our master bedroom makeover. However, painting sucks. The trimming, the taping, the ladders, the splatters, the rolling, the touchups. Painting is not for the faint of heart and there’s a GOOD reason why professionals are so expensive.
I’ll warn you, while these solutions are far less expensive than hiring a professional, this is not a list for painting on a budget. In this list of tips, I’ve included the RIGHT tools and how to use them to make painting suck less, have a paint job that looks like a pro, and get it done quickly.
8 Tips for Painting a Room
Use Painters Tape Correctly
Even your best, most expensive painters tape is useless if you’re not using it correctly when painting a room. When prepping a room for painting, I use the green Frog Tape all the way around the baseboards and trim. This helps protect all of the trim and it can catch drips.
For starters, make sure the surface is clean. If you haven’t wiped down your baseboard in a while (guilty!) now’s the time. If your surface is dusty or damp the tape won’t stick correctly.
Apply the tape in short strips. This may seem more tedious, but it’s much easier to handle and will help avoid getting any creases or twists in the tape as you stick it to the baseboard.
Only press the tape along the top of the baseboard, don’t fold it down and stick it to the rest of the board. Pressing it all the way down makes it harder to peel, and the little tape shelf at the tops of your baseboards actually helps protect your floors from drips. It’s saved my carpet more times than I’m willing to admit.
SEAL THE EDGES. This one of my best tips for painting a room and I think it gets overlooked too often by DIY-ers. I learned this tip at a home show and it’s a complete game-changer when getting the most out of your painter’s tape to ensure a clean line. It’s called burnishing. The light adhesive on the tape is actually heat activated to create a seal. Once your tape is attached to its surface with a clean line, use the edge of a paint stir stick, your fingernail, or a plastic credit card, and run it along the edge. It has to be quick, as that fast firm pressure heats the tape ever so slightly to activate the adhesive and ensure no pain is bleeding through.
Remove your painter’s tape shortly after you’re done painting. I usually give the walls about 30 minutes so they’re mostly dry to the touch, but not cured all the way. You don’t want the paint on the tape to fully cure with the paint on walls or you risk it peeling off the paint on your walls or the painter’s tape getting trapped and it rips. Remove the tape slowly and at an angle for crisp clean paint lines.
Protect your floors from paint spills and splatters
Whether you’re going wild with the roller, you get too much paint on your brush and it drips, or you’re a bit clumsy and knock the can of paint over your floors are at high risk of a paint stain. This is another reason I dread painting.
The old sheet or drop cloth you would normally use may protect your floors, but in my experience, neither of them stay put and the paint always seems to find that one spot that got uncovered when the ladder shifted.
Enter the carpet shield. This tip for painting a room is another essential one for our projects. It’s a self-adhesive film that’s safe to put directly over your carpet. It’s durable and stays put so you can easily paint without fear of drips or the drop cloth shifting.
Alternatively, if you’re floors aren’t carpet and you can’t place an adhesive directly on top of them, Scotch Blue makes a pre-taped painter’s plastic roll so as your apply your painter’s tape along the baseboards, the plastic follows behind it and unfolds for a perfect floor protector. This plastic isn’t quite as durable. However, since it’s attached with the tape to your baseboards (and if you apply the tape with the burnishing method I mentioned above) it should stay put, and protect not only your baseboard but your floors too.
Trim with the Right Brush
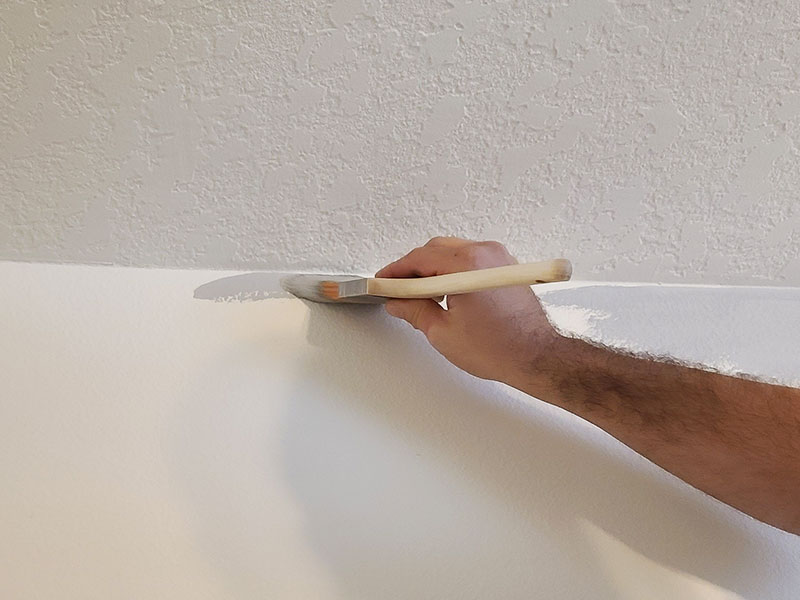
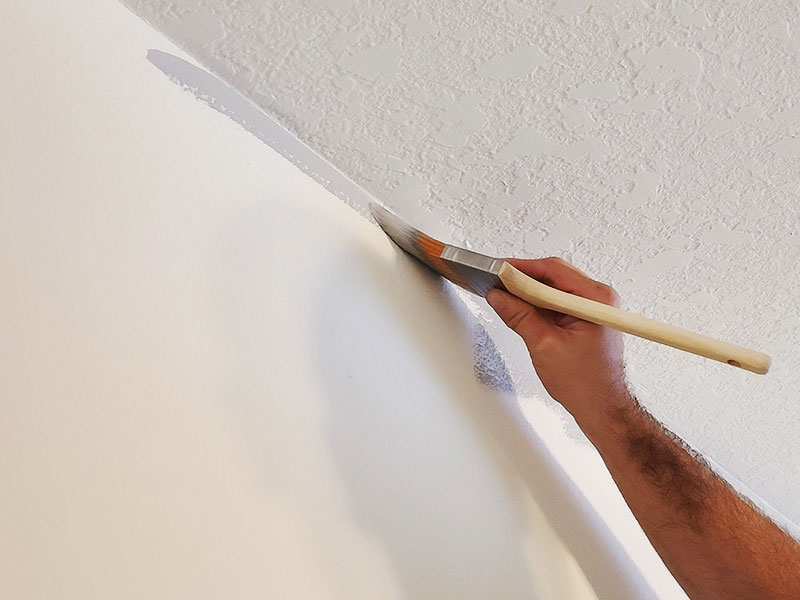
I’m entirely not sure what’s worse when it comes to painting: wrapping your baseboards in painters tape, or trimming the ceiling and hoping you don’t get any on the ceiling. I used to despise trimming the ceiling, mostly because uneven ceiling trim drives me crazy, and managing how much paint comes off the brush felt impossible. But I found the secret.
Use an angled brush. They make brushes specifically for trimming and I’m not talking about the rolling paint pads. (Please don’t use those, especially if you have a textured wall or ceiling. It’s a gimmick, they don’t work, I tried.) An angled brush is necessary because you have to hold the brush at an angle against the ceiling to have the best view of your paint line. This is how you avoid having too much paint that globs up and hits the ceiling. I also prefer a long-handled brush so it balances well in your hand and you’re not giving it a tight grip and getting hand cramps.
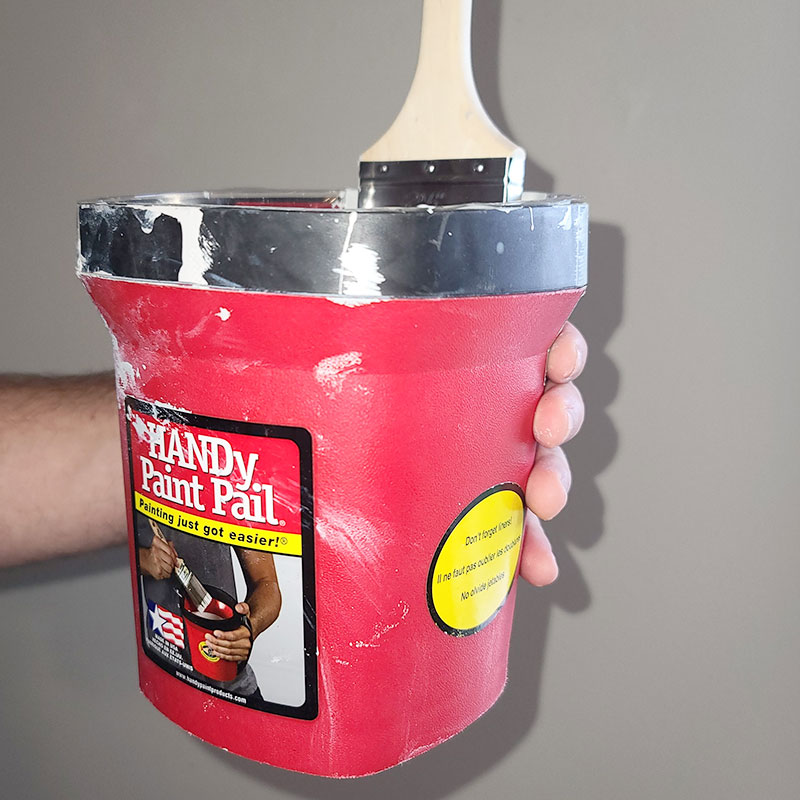
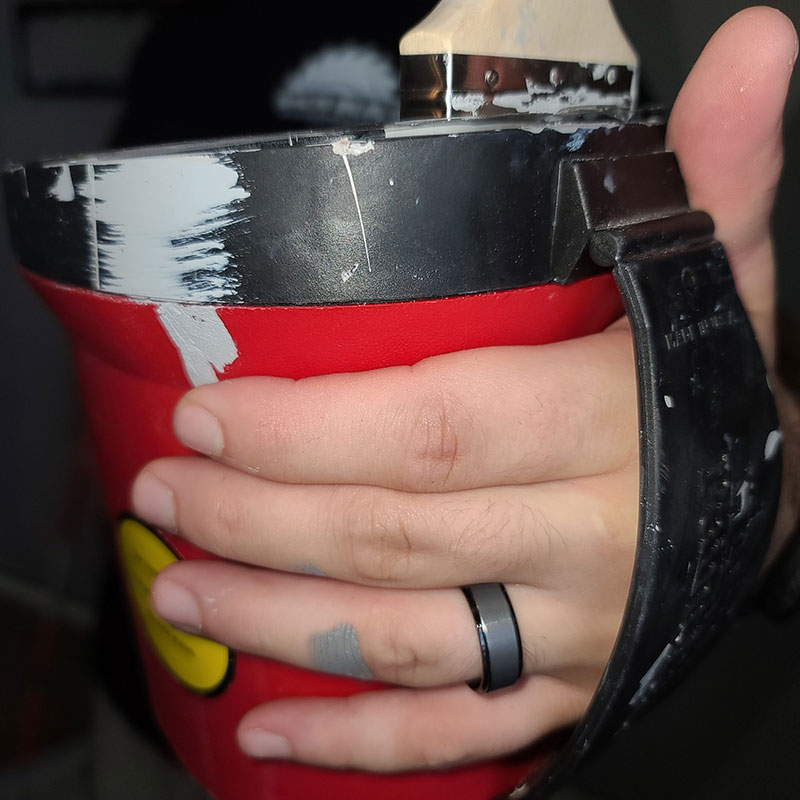
Use a HANDy Pail
The HANDy Pail is one of those inventions I wish I thought of. It’s simple, but genius! They thought of everything to make painting just a little bit easier. It features a comfortable hand strap with an ergonomic shape so it’s easy to hold on to as you go up and down the ladder for trimming or touch-ups. It also has a magnet on the inside, so as you’re making those moves up and down the ladder, you have a place to stick your brush (using the metal brush band) without it falling into the paint.
My very favorite thing about this pail is that they make liners for it! This was great when we had two different colored walls and could easily swap out the liners without having to clean the pail.
These pails are fairly inexpensive and worth every penny for their convenience.
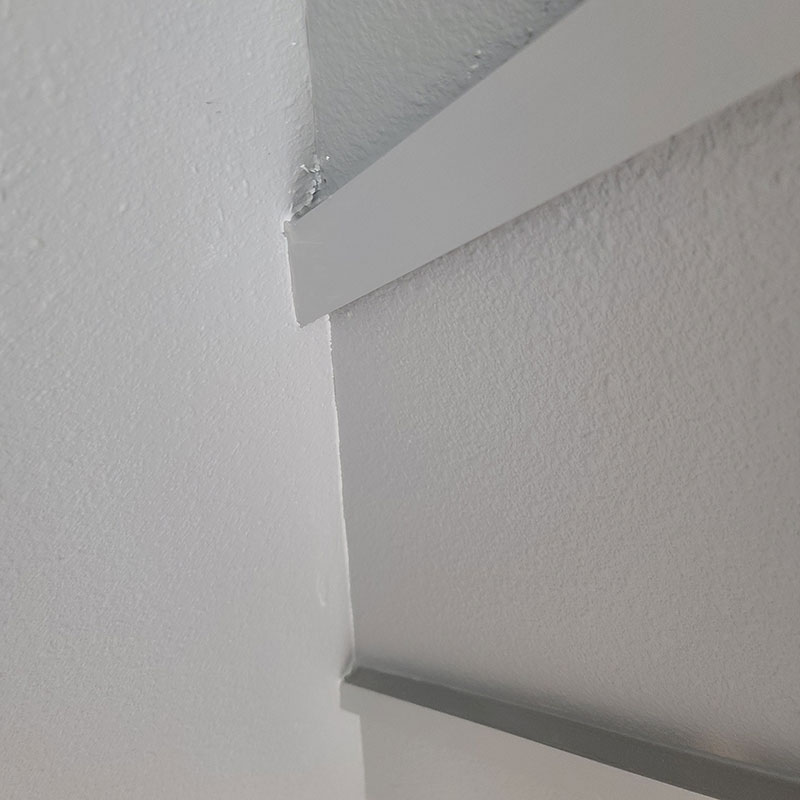
Trim the Ceiling Slow and Steady
I know we’re trying to make painting suck less, but going slow with the ceiling trim will get you the best results. You’ll want to be as close to eye level as possible with the top of the wall. The top of my head literally touches the ceiling when I trim. Don’t put a lot of paint on your brush to avoid drips. Ease your way into the corner by giving your brush a little wiggle to work the ends of your brush bristles right where you need them then swipe it slowly and carefully across.
Only run your trim brush about 6 in. – 1 ft. at a time, so you can ensure you keep a steady hand and follow your brush with your eyes to ensure you’re getting paint into the right spots. When you’re ready to stop, swipe your brush in a downward motion to avoid drips.
Roll with a Pole
Rolling paint on a wall takes muscle. Having extra leverage with a paint pole will save you a lot of sweat (and probably tears). The pole isn’t just for high up and hard to reach areas. It actually allows you to put more pressure on the roll for a more even and full coverage. Plus you can cover a lot more surface area at once. (Yay for a time saver to make up for all that time you spent trimming!)
I’m honestly not even sure why they sell roller brushes with just the hand roller. Unless you’re working in a tight space, the full pole is the way to go. You’ll thank me for this painting tip when you’re arms aren’t as sore as they normally are after painting.
We typically paint in a zigzag pattern to avoid getting obvious paint strokes. We typically trim about 6 in. down and then roll about 3 in. into the trim to ensure it blends. It’s also helpful if one person can trim and the other follows behind with the roller. This helps to ensure a clean blend between the two.
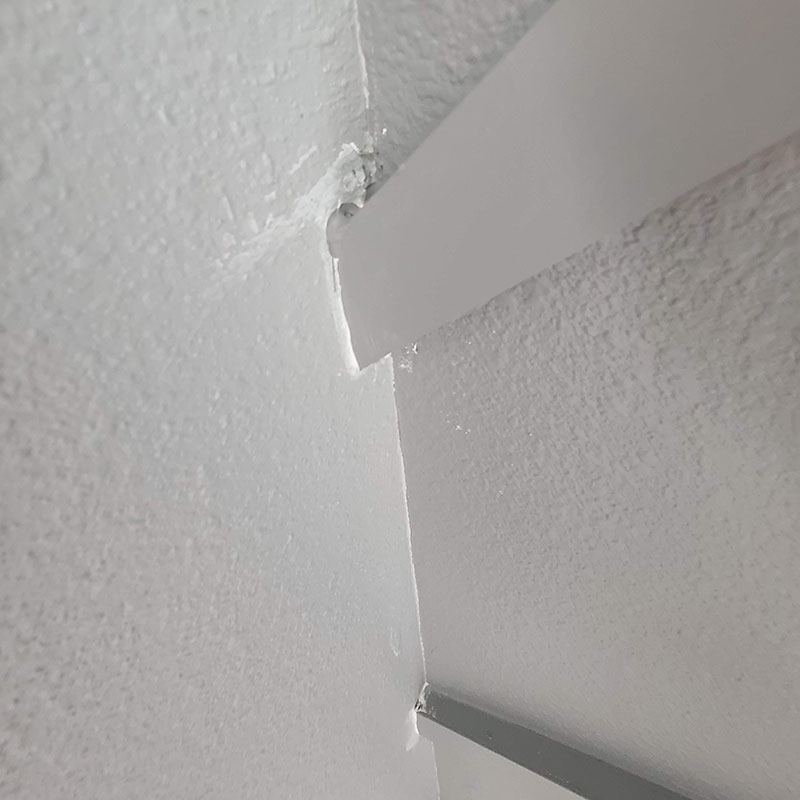
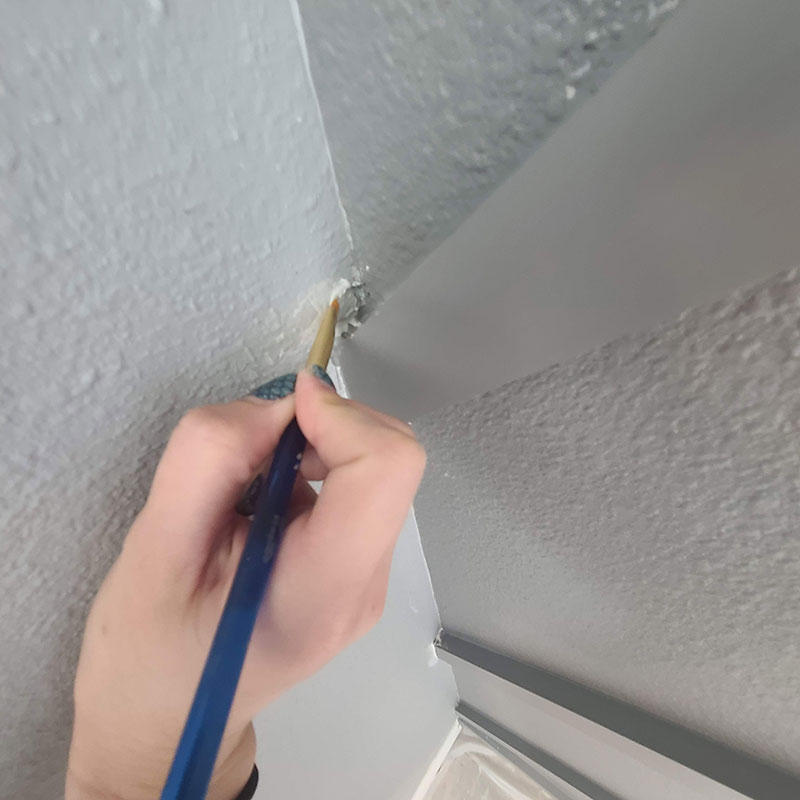
Use a Small Brush for Small Touch Ups
Don’t over complicate where you don’t have to. I have some small artist brushes and I find they’re absolutely perfect for touch-ups. Especially if you have two different colored walls and you’re trying to get a clean line in the middle, or if there’s just a tad of a gap between the new paint and the baseboards after you peel the tape.
When we painted our chevron wall. These tiny brushes were an absolute necessity to get all of the tight 45-degree angle corners.
Give Yourself Grace
Nope, this isn’t one of my normal tips for painting to show you a tool or technique, but a reminder that no one is going to see that one little smudge and think less of you. I tend to get so caught up in perfection, and I lose the big picture. I am NOT a pro-painter, but I am a pretty good DIY-er. Quite frankly, if anyone is getting so close to my walls and making comments about a less than straight line on my ceiling, I will kindly as them to redo it themselves…. or leave.
Painting is not for the faint of heart, using these tips for painting a room will get your pretty close to a pro job, but at the end of the day if you have a few oops spots, know that it just adds a little charm. If it bothers you enough, put a lamp there, hang a picture, or pull out that tiny paintbrush and try again.
Tell us in the comments how you feel about painting and if you plan to use any of these tips for painting with your next project.
Checkout more of our Recent DIY Projects:
No post found!
Pingback: How to Create an Impressive Chevron Wall - Homemade by Huseman