This post may contain affiliate links. When you purchase a product I’ve linked to, I may receive a small commission. Thanks for helping my small business!
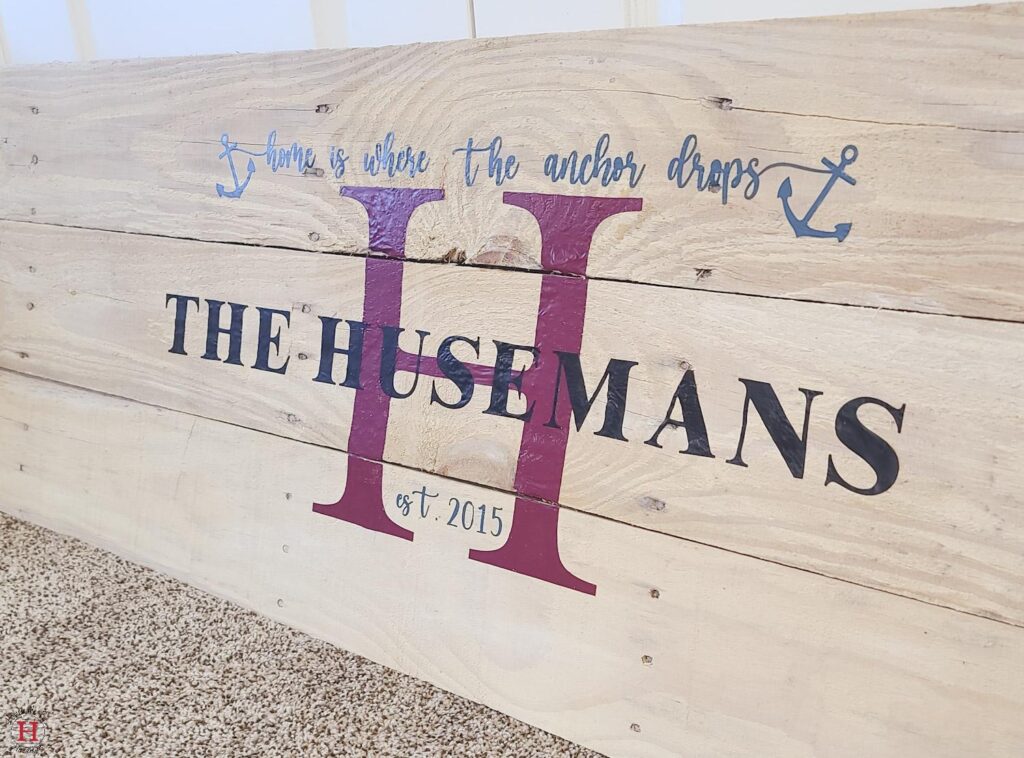
Can you use HTV on wood? This is the question I was asking myself as I dreamt up an idea for a recycled pallet wood project. I also really loved the natural rough textures of the wood and didn’t want to sand it down like I normally would when using Heat transfer vinyl (HTV) on wood. So my next question was, will HTV stick to textured wood?
Wait, What’s HTV?
HTV is heat transfer vinyl and one of my favorite craft mediums when paired with my Cricut Explore Air 2 . Typically I’ve used it on t-shirts, onesies, or even bibs. Once I even created a onesie and bib station for a baby shower with my heat press and cut HTV, which was a huge hit by the way. However, all of these materials are fabric.
HTV is typically intended for fabric, but it doesn’t have to stop there. This material works by the adhesive being activated by heat and then the pressure applied adheres to the surface you’re working on. So as long as your surface can handle around 300 degrees of heat, it’s HTV safe. And guess what! HTV works on wood too and the wood will not burn with your heat press as long as it’s not left for long periods.
The Basics of HTV
HTV is used much like regular vinyl. The biggest difference is that the adhesive side is up, so make sure you always mirror your designs before cutting. Once you’ve cut the design with something like a Cricut or Silhouette, weed the negative space of the HTV. I find weeding HTV to be much easier than regular adhesive vinyl because it does not stick to itself.
The beauty of HTV is that it comes with its own transfer sheet, so once you’ve done the weeding you’re ready to press. Make sure your surface, in this case, wood, is free of any debris. If anything gets caught under the HTV it will leave bumps or bubbles. Then do a quick preheat of your surface, I usually do this for about 5-10 seconds.
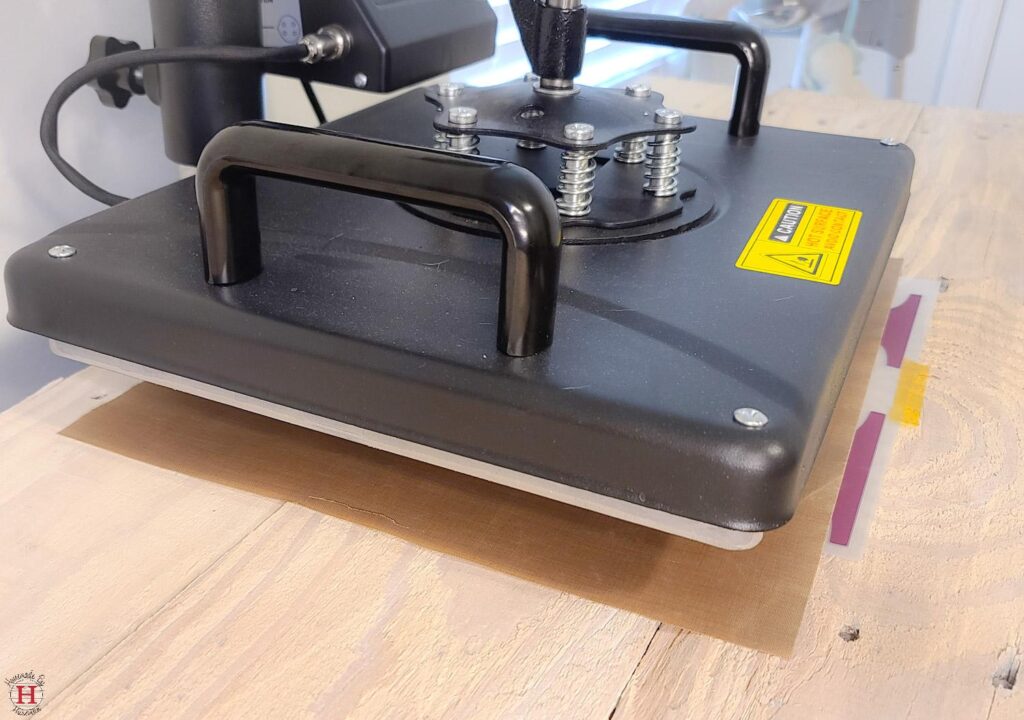
Place your HTV vinyl side down and secure it with some heat resistant tape so it can’t slide around. Then move your project to the heat press. My number one tip for HTV is to follow the recommendation of the HTV manufacturer. There’s a lot of brands out there; however, they’re all created a little differently so temperatures, press time, and when to peel may vary slightly. Always refer to the instructions your HTV came with for the best results.
Before pressing, cover your surface with something like a teflon sheet or parchment paper. These are both heat-safe materials that will transfer heat, but the heated vinyl won’t stick to it and it won’t burn. This will help protect your wood from burining if you press a little too long, and if you repress the vinyl after removing the transfer sheet, the vinyl won’t melt to your heat plate.
So, why should I use HTV on wood?
When looking at my wood project, my other options were to use permanent vinyl, which I didn’t have much confidence would transfer well on a textured surface without bubbling, or I could use removable vinyl as a stencil and paint the letters, which just sounded like a whole lot more work than it was worth and required a whole slew of extra materials that I didn’t have on hand.
I prefer HTV on wood because it tends to mold to the wood with heat, and it looks more like paint for an authentic look. For larger projects, I try to use HTV as much as possible simply because it cuts out the middle step of using a transfer sheet. Going through the process of weeding a vinyl project getting everything to transfer to a sticky transfer sheet and then pressing that vinyl and transfer sheet to the surface and hoping only the transfer sheet comes off can be a bit tedious.
When working with wood, you’re likely using permanent vinyl which is thick and extra sticky meaning mistakes can easily happen. Once that permanent vinyl sticks to something, forget it. Getting it off is no easy feat and, likely, it won’t restick appropriately to the spot you want it.
With HTV, you cut your design, weed it, then place it directly on the wood to be heat pressed. HTV already has a built-in transfer sheet and skipping that step can save you a tremendous amount of time. I’m all about working smarter not harder.
How does HTV look like paint?
HTV gets a little gummy once it’s heat pressed, this can present a challenge when working on a textured surface like pallet wood; however, it molds into the crease of the wood so the grain still shows through a little bit. This makes the HTV look more like paint than vinyl.
So, you’re getting a hand-painted look without the mess of paint – WIN! If you were to paint the wood using a vinyl stencil that also comes with the same stress of using permanent vinyl (still using that transfer sheet) plus, now you have to worry about your paint seeping through any little air pockets or creases. This can be avoided but doing a few coats of a clear mod podge, but those are extra steps and extra time to allow it to dry between coats.
You can still work in layers
I tend to worry about the HTV flat out melting if it’s pressed too many times, which working with textured wood I found I was pressing over and over again. However, it seems like keeping the temp at the manufactures recommendation and only pressing in 15-30 second intervals kept the HTV intact. This means I could layer 2 colors for a more complex design.
The layered pieces seemed to stick better than the HTV directly on the wood. Likely because it had a smoother surface to grab on to. This could be a huge plus if you’re using one large shape as a background and the more intricate details overtop.
How to prep your surface for HTV on wood
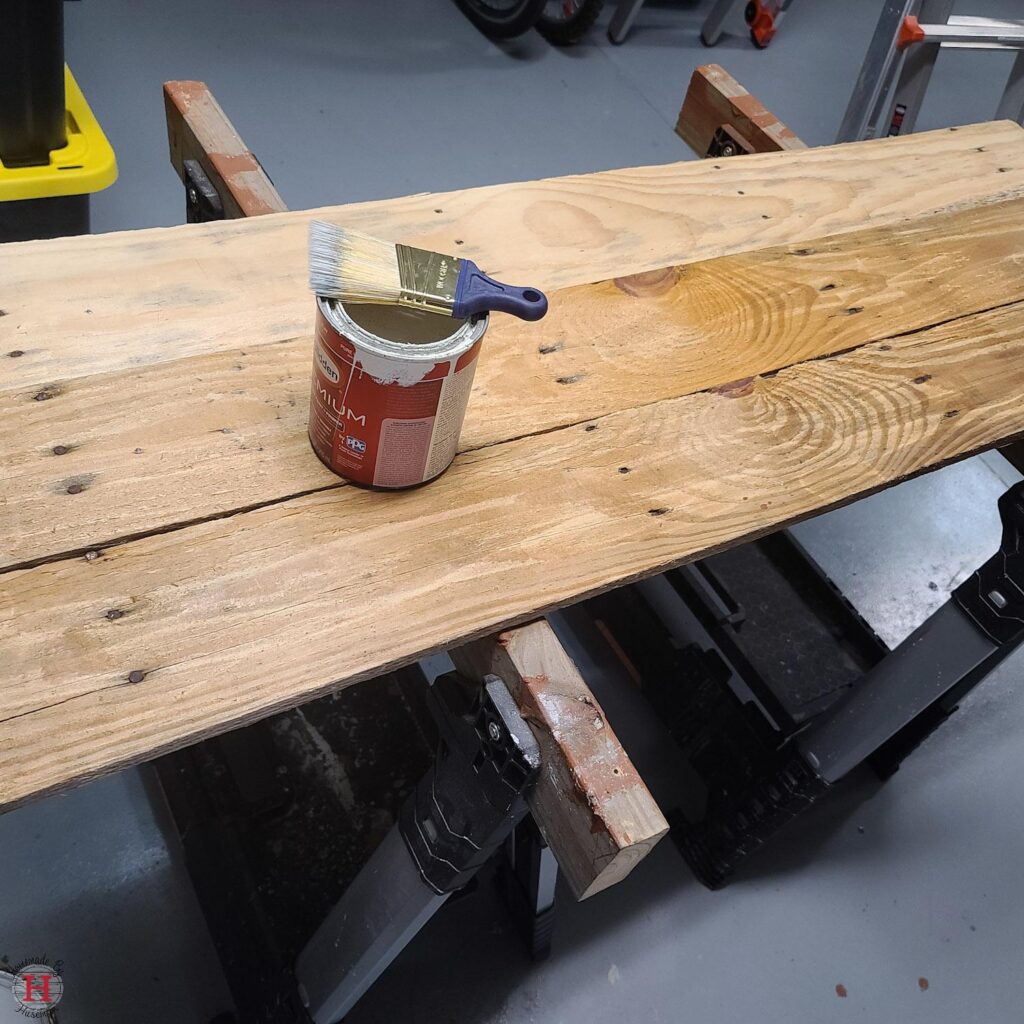
For the easiest and smoothest application, a well sanded and primed piece of wood is best. The smooth surface will help ensure the adhesive grabs quickly and stays put without a lot of effort, much like working on a clean, lint-free, fabric surface. However, this is not necessary if you’re willing to be a little patient.
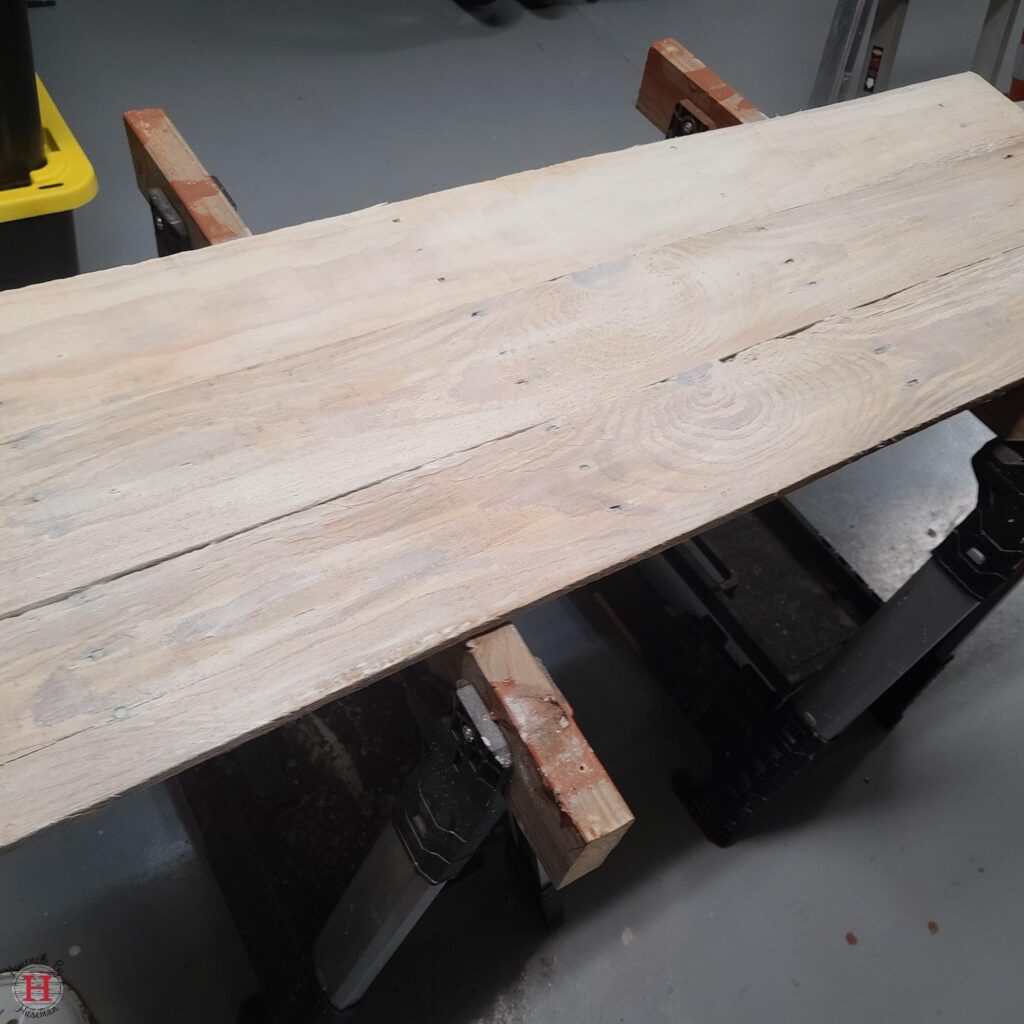
For my pallet wood project, the goal was to keep the distressed natural look of the pallets, so the only prep I did was add a whitewash to even out the colors of the wood and make it look a little more worn. I don’t think this did anything to change the way the HTV adhered, so no pre-painting is required.
However, I have to admit the time saved from not sanding down the wood will likely be reallocated to tenderly making sure your HTV stays put in the right place.
How long to press HTV on wood?
When it comes to pressing HTV on wood, especially if the wood is textured, I recommend starting with the manufactures recommendations for temperature and press time and then increase the amount of time you press or press multiple times. It is extremely important to have even pressure and a lot of it. I found using a full heat press was the easiest process to ensure enough pressure.
HTV can be so satisfying when using it on something like a t-shirt. You press it for about 15 seconds, then slowly peel back that transfer sheet and like magic, you have this perfect design printed on your shirt. If you’re working with smooth finished wood, you can expect mostly the same experience.
When using HTV on wood, after about 15-30 seconds of pressing I let it cool for about 10 seconds and then attempted to peel. If it wasn’t sticking at all or not heated enough, I pressed again. In most cases, I had to press 3 times. If the HTV was tacky, but not staying down I found putting some extra pressure on it with my fingers helped a lot. Be careful to let it cool enough so you can touch it, but it still needs to be warm. Using a glove or a small piece of fabric to protect your fingers can work too.
Pressing it with my fingers helped push it down into the little valleys of the rough wood so it was less likely to pull back up. Essentially you want it to melt enough to mold to the unique shape of the wood and then as it cools, not lift back up. This can be very tedious and smaller pieces of vinyl seemed to work better than larger ones.
CONS of Using HTV on Wood
Working over gaps can be your enemy
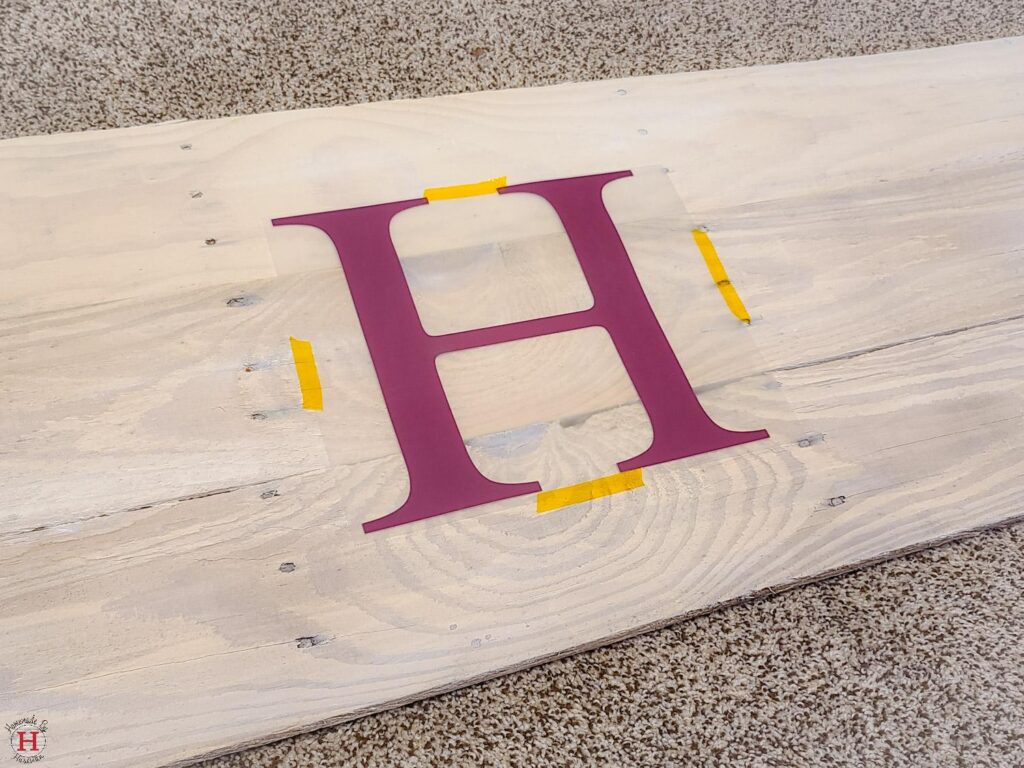
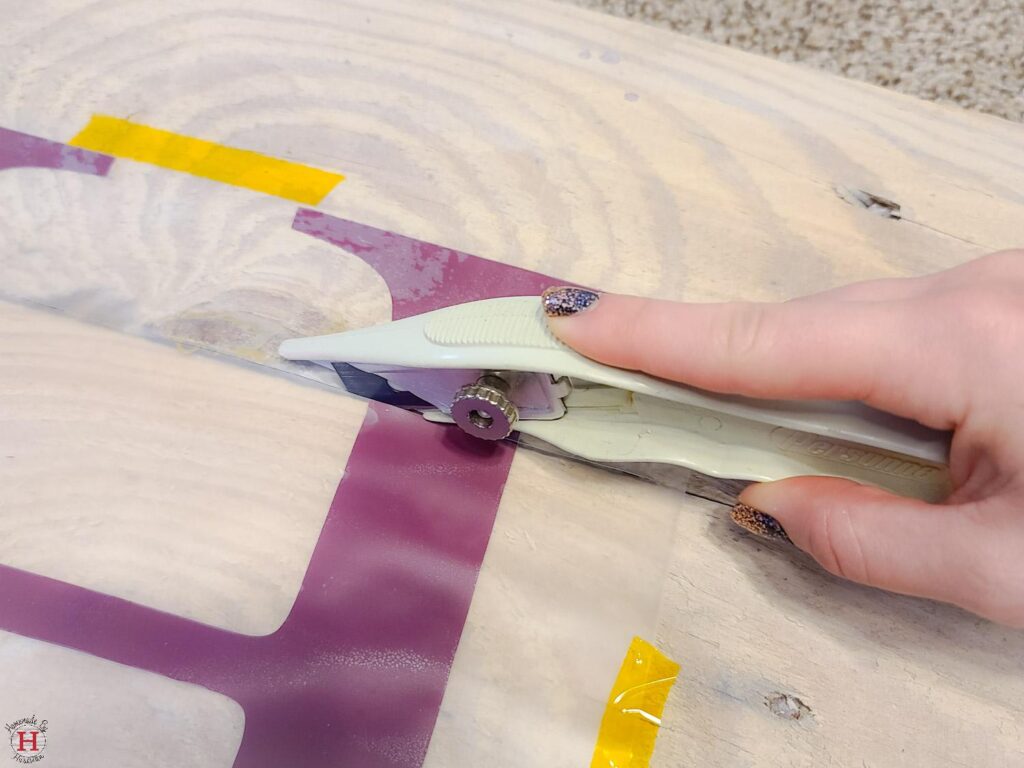
Since I was using HTV on pallet wood, I had 3 slats and my large H in the center is crossed over the 2 gaps between the wood. This proved to be a huge hurdle since the slight variations in the wood caused a lot of lifting.
The solution, however, was fairly easy. Once I had my H placed exactly where I wanted it, I taped it down with a heat-safe tape then took a razor to cut the transfer sheet and vinyl so the vinyl on each slat was no longer connected and they could be pressed individually (more or less).
A heavily textured wood takes more time to peel correctly
Using HTV on a textured surface reminded me of a regular vinyl application. One of my favorite things about HTV is that typically once it sticks, the whole piece sticks and it’s easy to peel back the transfer sheet. However, when you’re working on textured wood and you start to peel, a portion of the vinyl sticks and then you get a few pesky spots that just don’t stay down. It’s a back and forth process of starting to peel, pressing with your fingers so it sticks to the wood, and then peeling again.
I tried waiting to do a cold peel but found that was worse because then the vinyl cooled, hardened back up, and wasn’t sticking to anything. When peeling warm, the HTV is a bit tacky which can be a true pain to work with since it’s stretchier and more likely to not keep it’s shape. This is where pressing with my fingers first was vital, and then very slowly peeling followed by guiding the vinyl down to keep the right placement helped tremendously.
If you’re a very patient and detailed person, this may not be so much of a con since it still worked, but more of an awareness that it takes a little more TLC for the HTV to stick.
Watch out for tree sap
This is a con I was not expecting to deal with, but apparently applying heat over and over again made the tree sap in the pinewood come loose. Whoops! This wasn’t too much of an issue as it dried clear, but I did have to be extra cautious with my teflon sheets when the sap stuck to them. If I had reused them, it would have gotten sap in other areas of the project that may not have looked too great.
I did end up throwing away one of the teflon sheets that were used over two of the pine knots in the wood, so if you don’t have extras you’re willing to part with, you may consider using parchment paper instead.
Imperfections can happen with HTV
If you’re a perfectionist, this process might not be for you! If the wood isn’t smooth, I found in some areas that were pressed a lot the wood poked through the vinyl since it gets so stretchy and weak. For me, I was going for the aged rustic look, so I didn’t particularly mind and I felt it added to the character of the piece. It’s also just for personal use.
If I were to sell something like this, I’d obviously want to eliminate these imperfections. I feel certain with extra practice and patience would have avoided it. But for your first few attempts, you can expect to run into a few imperfections.
What to do if your HTV starts lifting
Nothing is more frustrating than finishing a project thinking it’s perfect, only to find a few hours later some of the HTV is lifting. Yikes! A quick reheat with the iron and some pressure will do the trick. For me, it only happened in one spot that didn’t get pressed as much as the others, so it just spoke to the importance of multiple presses even when you think it worked the first time. I find this to be true on any surface I’m working on with HTV.
No heat press for HTV? No problem! – Check out my round wood door sign post for tips on using permanent vinyl on a flat wood surface.
Love this? Check out more of our recent crafting posts:
No post found!