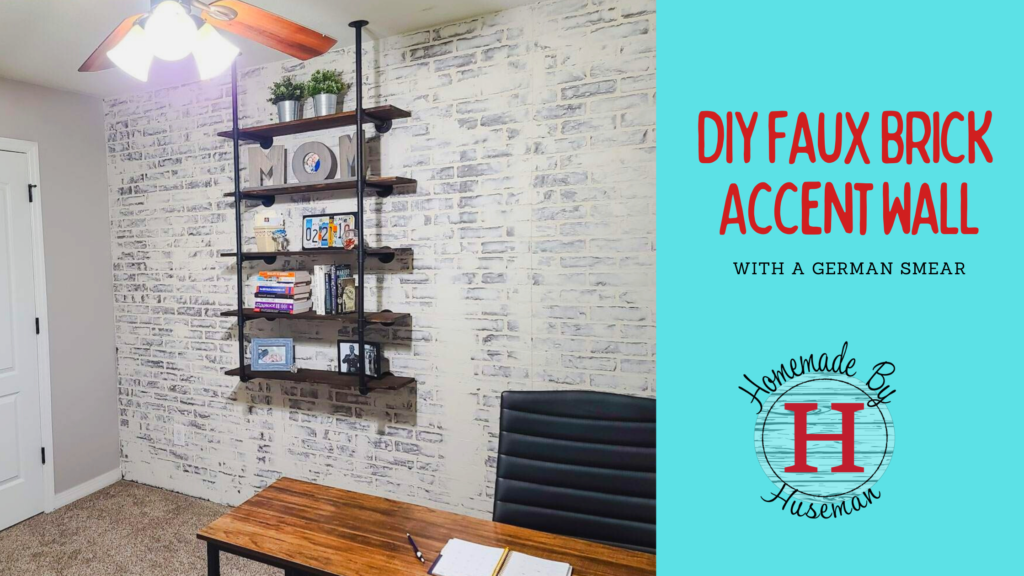
If you love the look of a brick accent wall, but don’t want to use actual brick and mortar in your home, we think a faux brick accent wall is exactly what your home needs. If you want to create one yourself – you’ve come to the right place! We recently added a brick accent wall with a whitewash smear finish to our home office using just a few supplies from the local home improvement store.
An artificial brick accent wall could also be used in a spare bathroom, dining room, bedroom, etc. We find it pairs nicely with wood accents or something industrial like iron piping. It adds some old character to your home as if it’s been there for 50 years, even though you just built it (and it’s fake).
In Florida, finding true brick in a home can be hard to come by, especially if the home was built in the last 10 years, so in true Huseman fashion – we built one. The expense of actual brick and the skill it takes to properly lay brick takes a lot of time we just don’t have, so this faux brick accent wall was the perfect solution to get the look we desired at the right price and fast.
This fake brick accent wall was very quick and easy to install and the white wash finish was absolutely perfect for adding a little character to our home office. We also have to admit, it makes a phenomenal video conference background as well!
DIY Skill Level: Beginner
Time Frame: Approximately one day
Materials Required for a Faux Brick Accent Wall:
- Brick Wall panels for the entire area you’d like to cover
- Dust Control Joint Compound (about 1.25 quarts for each full panel)
- Loctite Power Grab (1 tube should be plenty)
- Finish Nails
- Drop Cloth (optional for flooring protection)
Tool Required:
- Circular Saw and jigsaw (OR we used the Ridgid SubCompact Multi-Material Saw)
- Finish Nail Gun (we used the Ridgid HYPERDRIVE 16-Gauge 2-1/8 in. Brad Nailer)
- Caulk gun
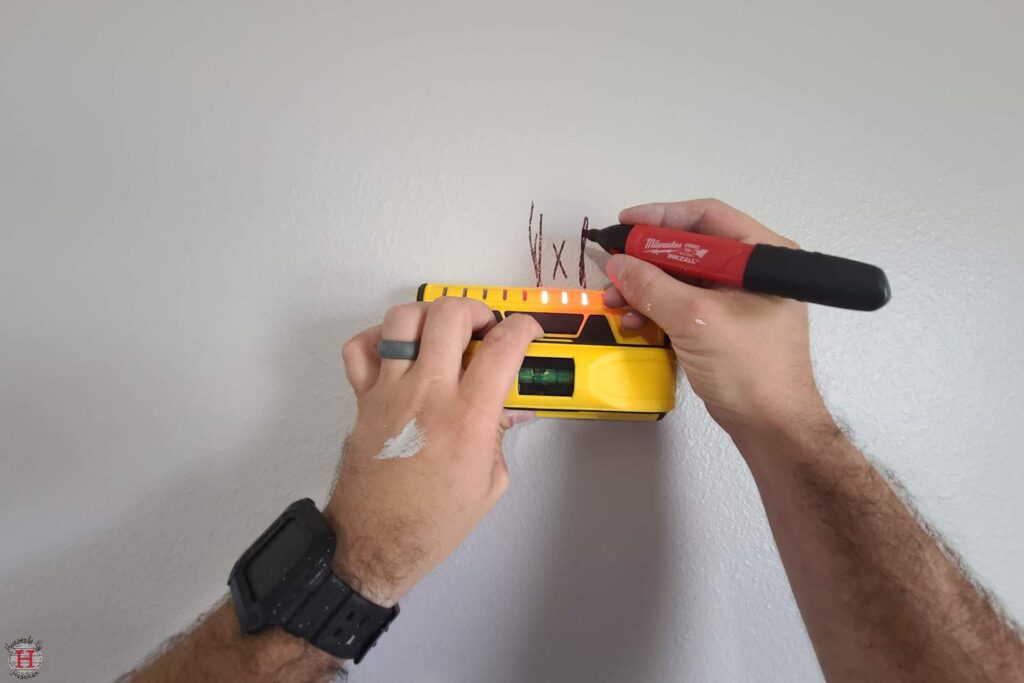
- Stud finder
- Pen or marker
- How to Build a Faux Brick Accent Wall
The two main pieces to a DIY faux brick accent wall with a whitewash finish are the brick panels and joint compound. The joint compound gives it a whitewash finish and adds extra texture for a more authentic-looking fake brick accent wall.
Installing the Brick Wall Panels
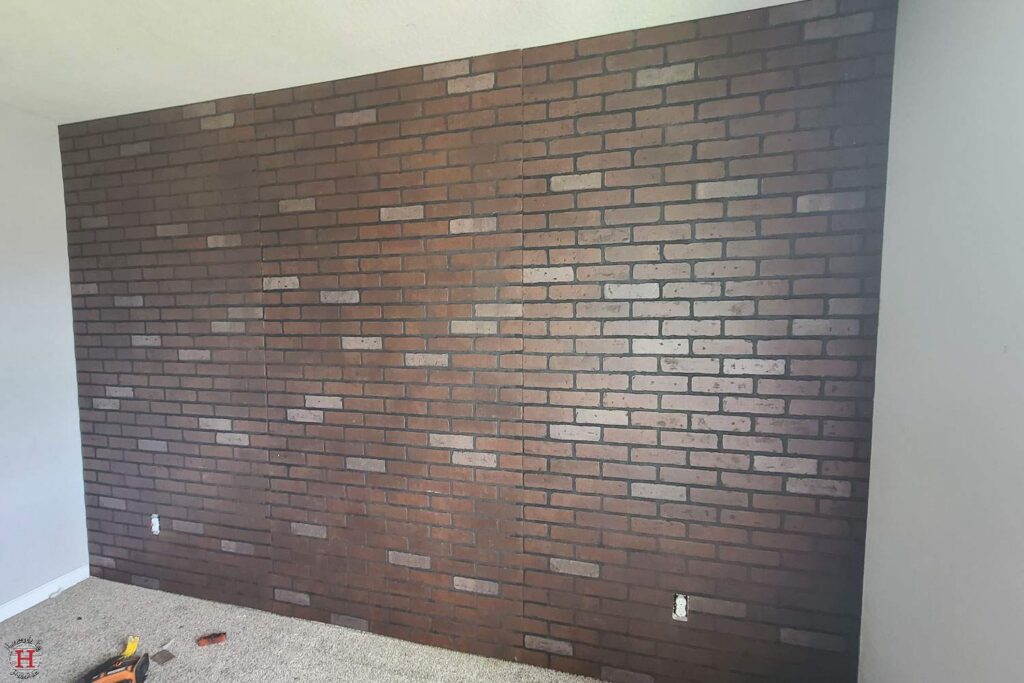
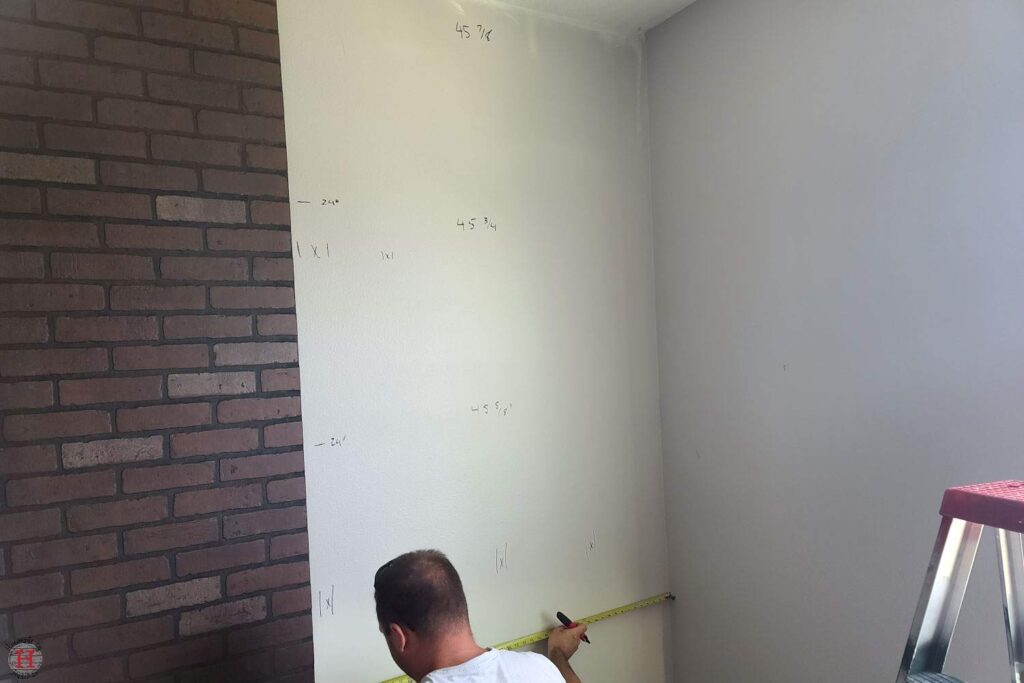
To start, you’ll want to measure the wall you’re adding the artificial brick panels to. The panels typically come in an 8’x4’ sheet. Due to the seams, we recommend using as many full sheets as possible and if you need extra height to combine the panels at a mortar line. This will allow the seam to be easily hidden with the joint compound. We’ll cover this more in the German Smear section below.
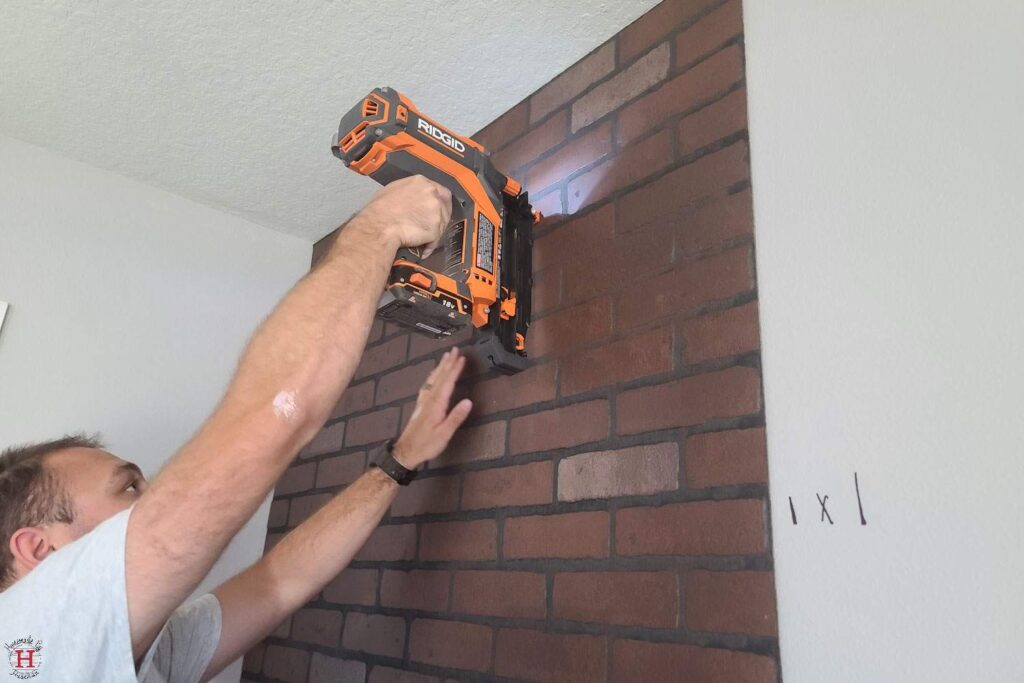
To install your first panel press it up against the wall and use finish nails to tack it into place. When possible, use a stud finder to locate the studs and try to nail into the studs for a stronger hold. If you find some areas are popping up you can use the Loctite Power Grab glue behind the panels for extra hold.
When pairing two artificial brick wall panels it’s important to piece them as close together as possible and make sure the lines of brick are aligned. They’re conveniently designed to easily repeat the pattern, so we recommend only cutting the width of your last sheet to fit the length of the wall.
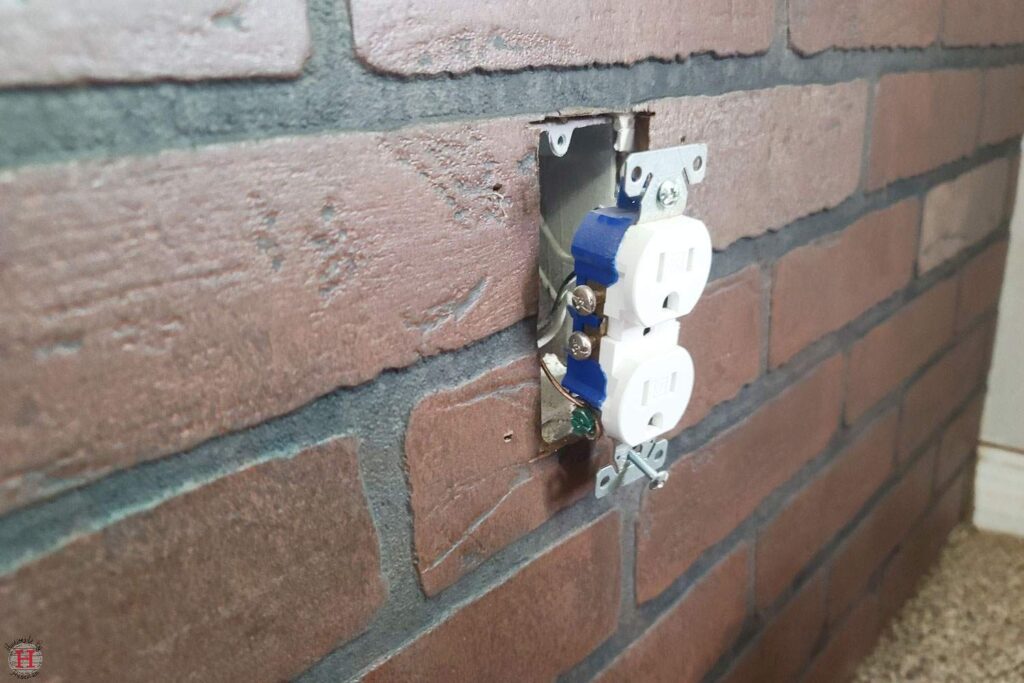
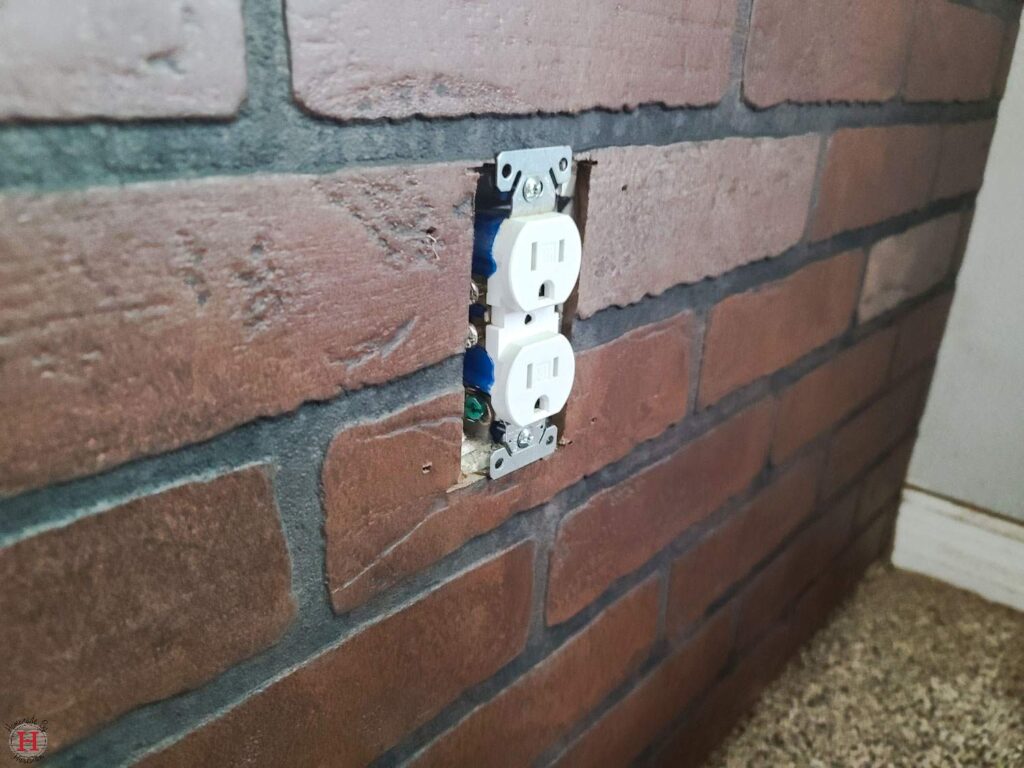
How to make Precise Cuts for Outlets on a Faux Brick Wall
There’s a good chance you’ll have an outlet or light switch on the wall you’re adding the fake brick. For this, you’ll want to cut an opening. To do so, first, flip your breaker for that room to turn the power off (safety first!), then make sure you’ve removed the plate and unscrewed the actual outlet from the wall.
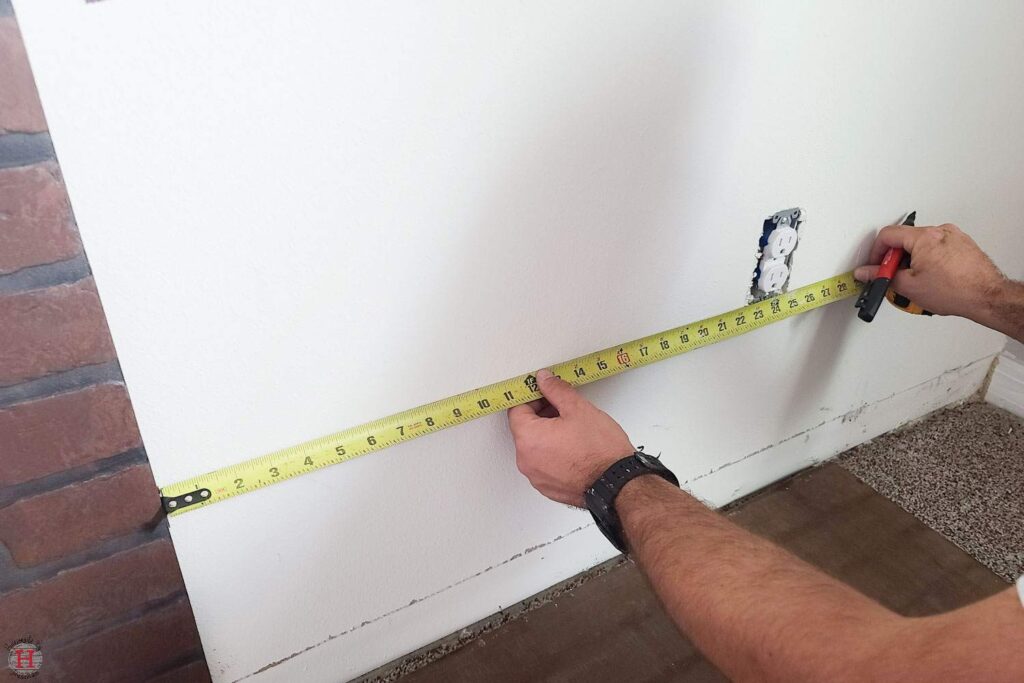
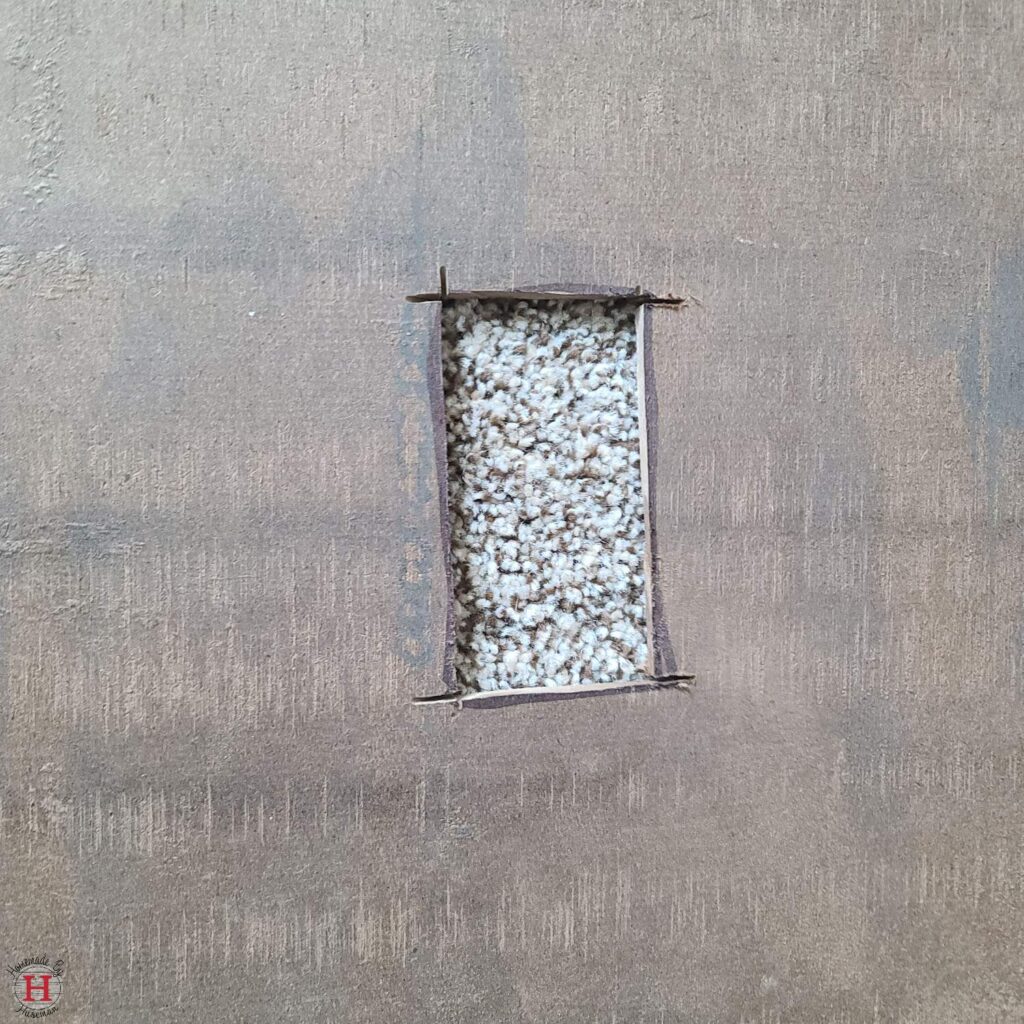
To help ensure you’re cutting the correct spot on the panel, we recommend lining up the panel on the wall to ensure your bricks will line up, then bring it face down to the floor in front of it. This makes it easier to visualize exactly where your measurements need to go.
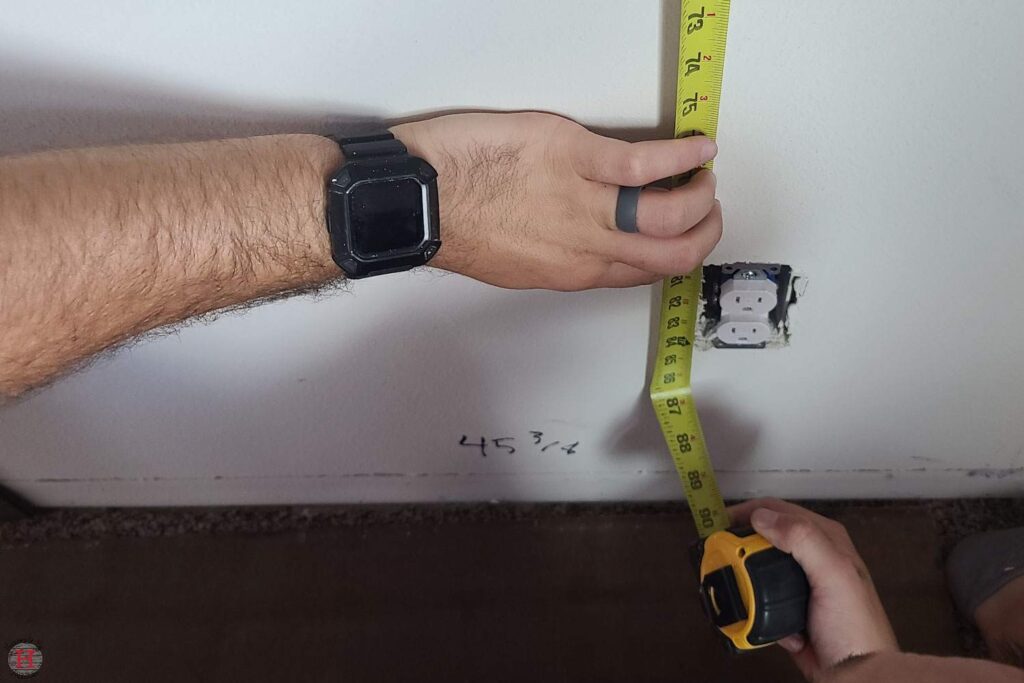
Similar to how we did this for our shiplap wall you’ll want to measure from the outside of the last panel you installed (or the adjacent wall) to the left side and right side of your outlet or switch. Mark those two measurements on the back of your faux brick panel.
Then measure from the ceiling to the top side and bottom side of your outlet or switch, and transfer those measurements to the back of the panel. Now with those measurements, you should be able to draw a rectangle into your panel for a cut guide and when you add the panel to the wall it should align with the outlet.
To cut out the square you can use a jigsaw, but we found our favorite subcompact multi-material saw from Ridgid did the trick very quickly.
Before nailing your panel, gently pull the outlet through the opening. Nail the panel into place and then re-screw the outlet back into place. You shouldn’t need a box since the panels are so thin, but for a flush look once you put the plate back on, it’s important for the outlet to sit above the panels. Wait until after you’ve finished the joint compound smear and let it dry before adding the plate back to the wall.
How to Measure for the Final Panel
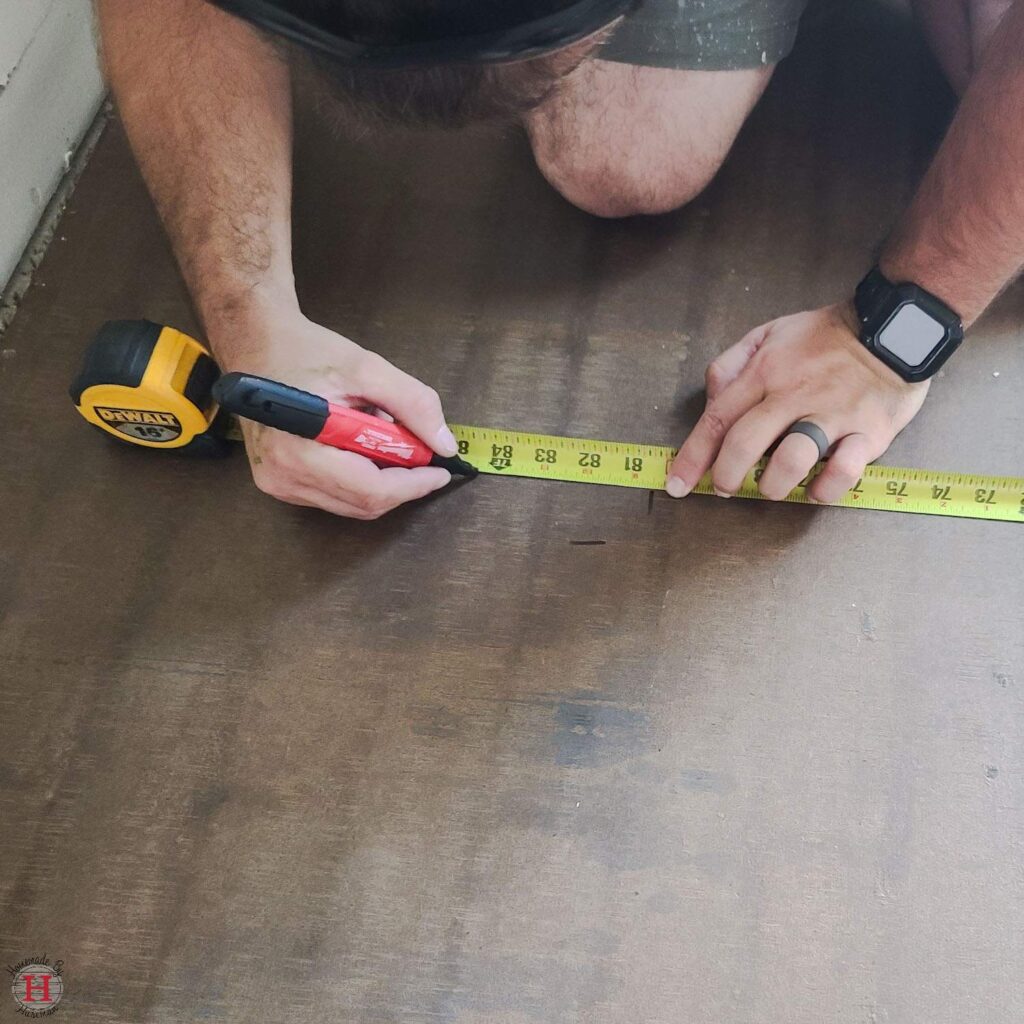
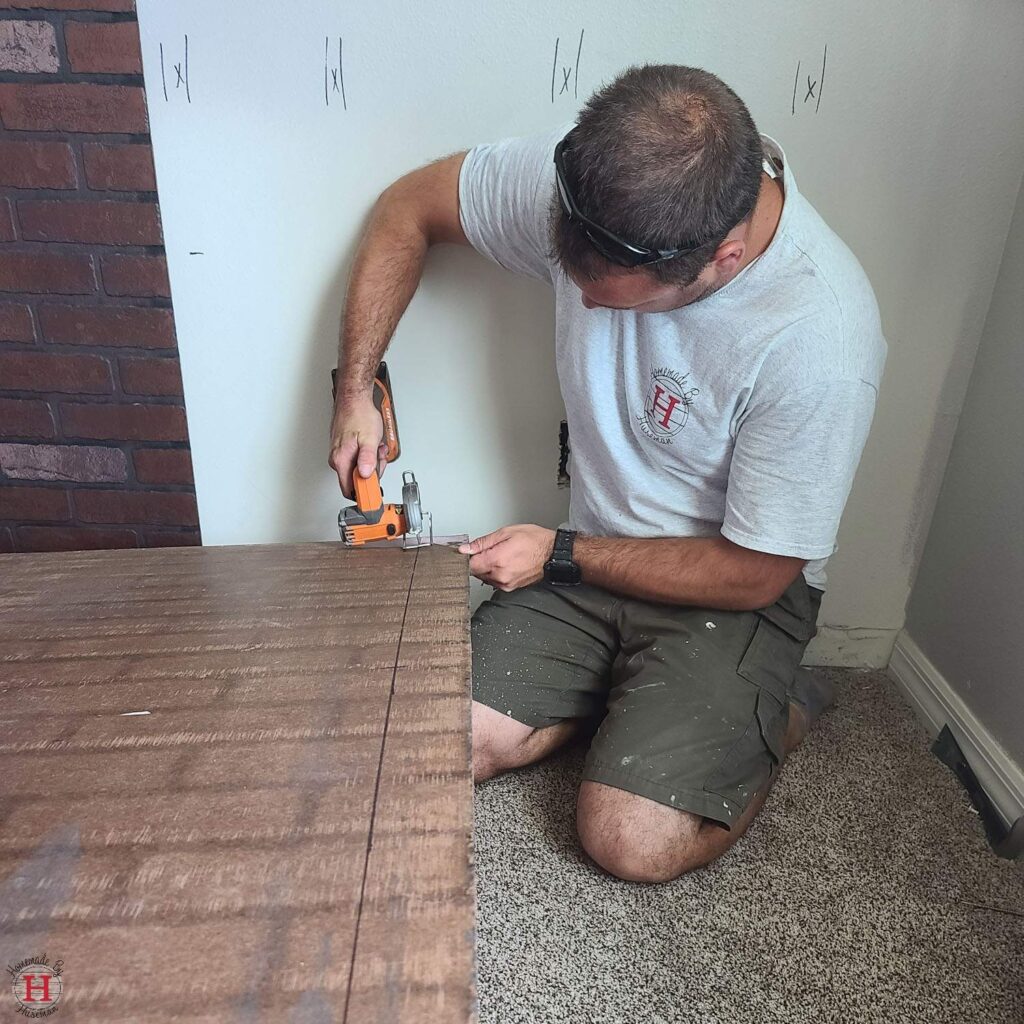
Since it’s common in Florida construction for the walls to not be perfectly plumb, we measured the length from the second to last panel to the adjacent wall every two feet down and then transferred those measurements to the back of the brick wall panels. Again, we recommend lining up your panel first to ensure you’re cutting the correct side, then lay it face down.
We then played connect the dots to create a straight line all the way down the panel. Remember – measure twice, cut once. Also be mindful of the side of the panel you’re cutting to ensure your bricks will line up with the already installed on the wall fake brick.
You can use a circular saw or the handy multi-material saw for this cut. It does not have to be 100% perfectly straight since you’ll be using the joint compound over it that will fill the gaps, but you do want to get as close to the adjacent wall as possible.
When installing, it should have a snug fit as close to the adjoining brick as possible to limit the gaps for seams.
How to Create a Faux Brick German Smear for a White Wash
Creating the german smear look on a brick accent wall is quite simple. In fact, it’s important not to overthink it because the “perfectly imperfect” look is what makes it authentic.
Rather than using paint or actual brick mortar to add color and texture to the wall, we used a dust control joint compound. The process was simple and pretty quick.
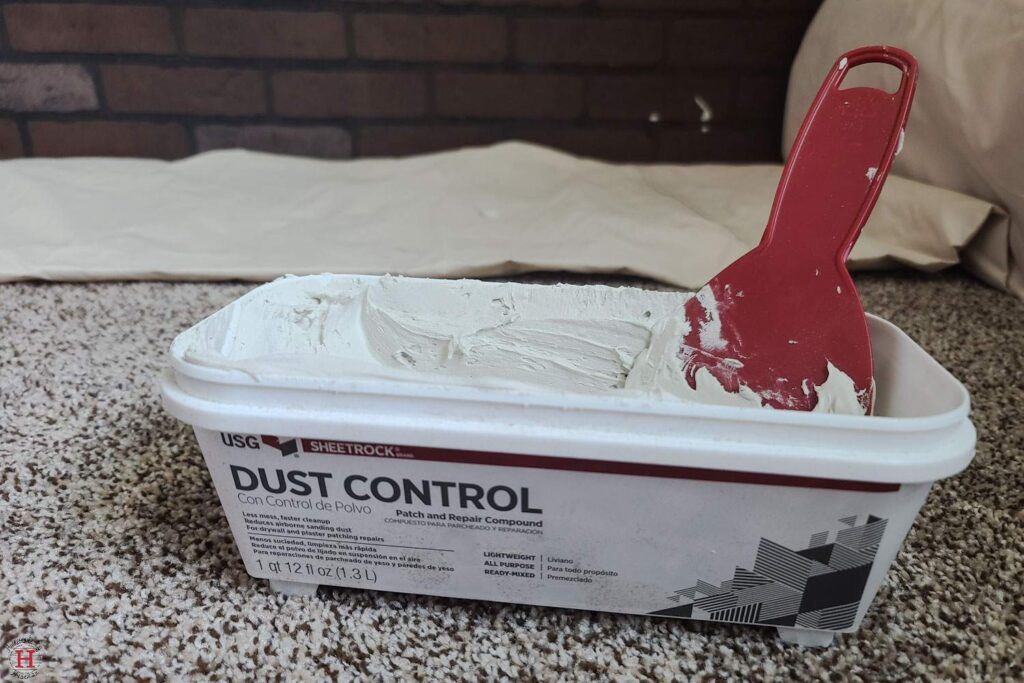
Essentially all you have to do is get a good glob across the joint compound applicator, then smear it across the textured brick. Keep in mind, it will dry darker than it appears at first and of course more compound will look more white and painted while less compound will offer a lightened brick with a white mortar look.
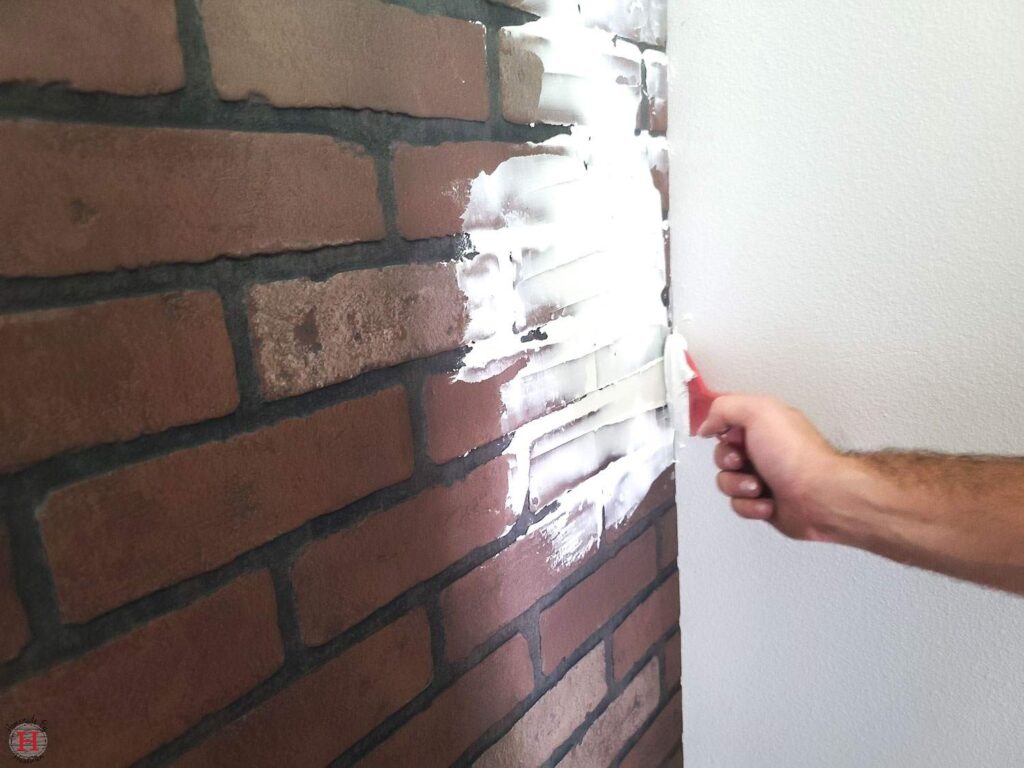
To cover the seams of the faux brick panels, we made the joint compond a little more dense across the bricks that should connect and lighter where there was a joint to look more natural. Since it did still create somewhat of a line, we added heavier and lighter compound throughout the wall so there wouldn’t be too obvious vertical seams.
Keep in mind as you move across the wall it’s easier to go back and add more joint compound to get your desired look than it is to take some away. However, if you do find some areas are a little too dense for your liking, some light sandpaper will file down the joint compound to get more of the brick color or a smoother texture.
As for the outside edges of the brick panels, we added extra joint compound for a clean finish, just like you would if you were using the joint compound on drywall.
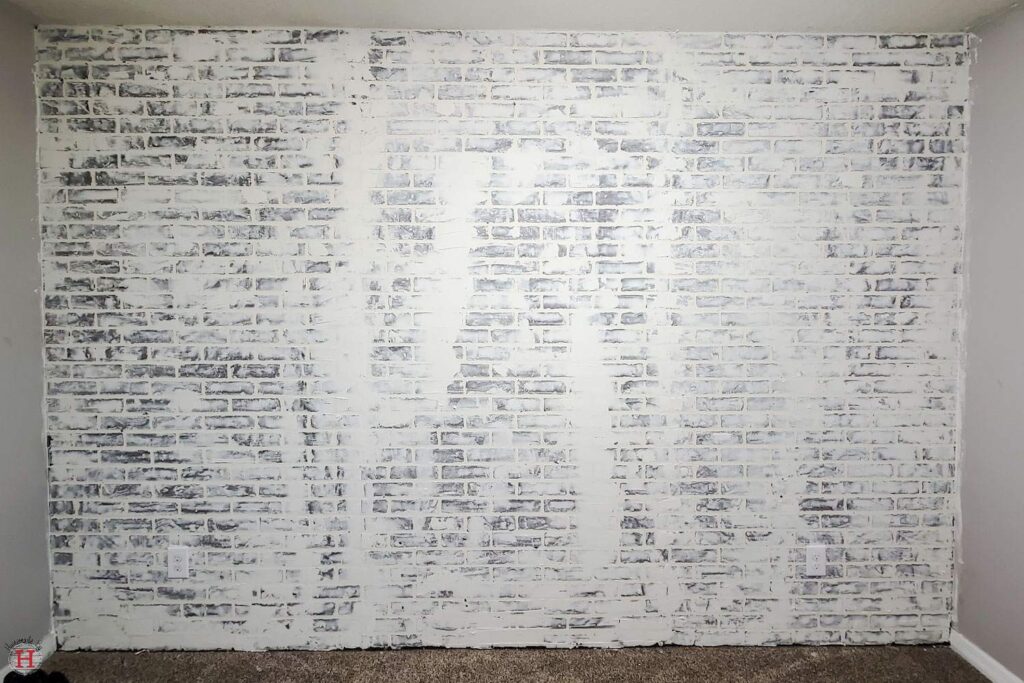
Once your “smear” has dried completely you can consider the work done. Yes! It’s really that easy, no sealing, painting, or calking.
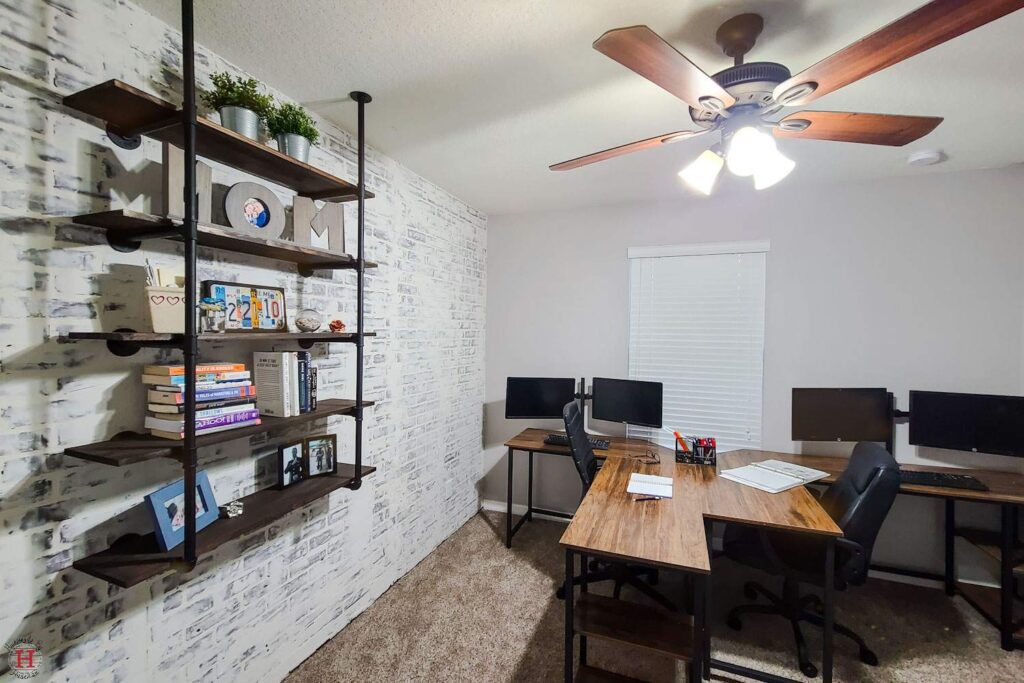
To finish this office project we added some industrial wood and iron pipe shelving and painted the remaining walls a light gray for a nice contrast. If painting is part of your room remodel, make sure to check out our amazing painting tips to make the process easier. This DIY faux brick accent wall was a lot of fun to make and went up surprisingly fast. It’s made for a wonderful home office and very welcoming to come into work too.
If you have questions about this process we’d love to help! Email us at contact@homemadebyhuseman.com or if you’re local to the Tampa area and you’d like for us to build this faux brick wall for you use our Consult Request Form.
Check out more of our recent work:

A Homeowener’s Guide for Building an Accessory Dwelling Unit
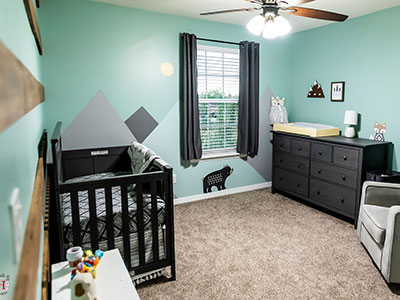
Inspiration for a Mountain Themed Nursery
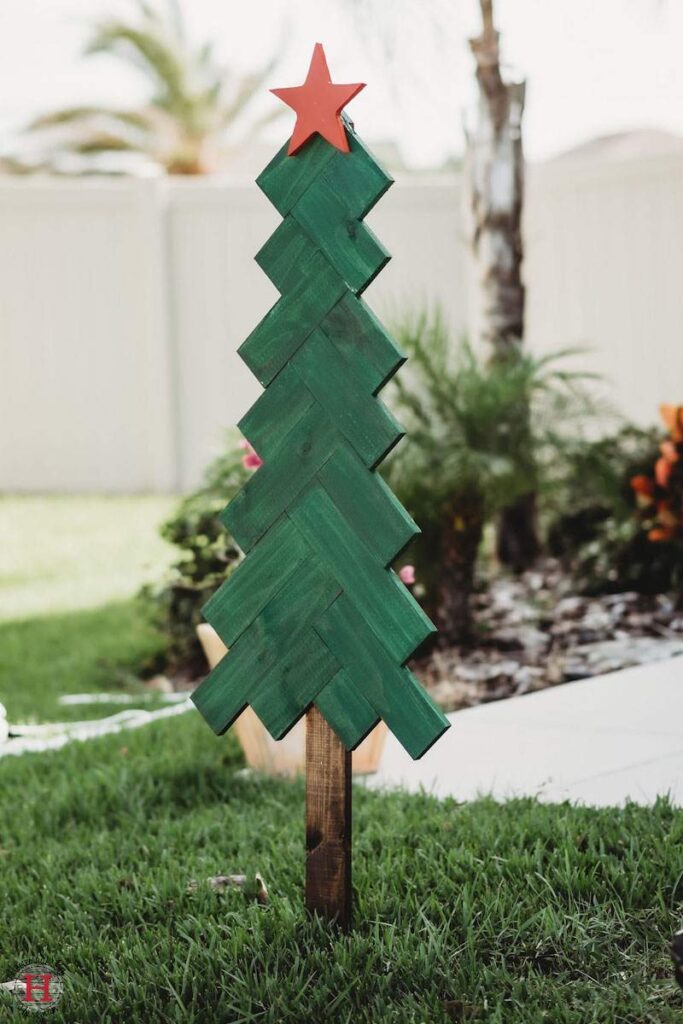
Charming DIY Wooden Christmas Tree with How-To Cut and Build Guide
Top 12 Must Have Tools for DIY

How to Build a Stunning DIY Faux Brick Accent Wall
HTV on Wood: How to Do It Right!
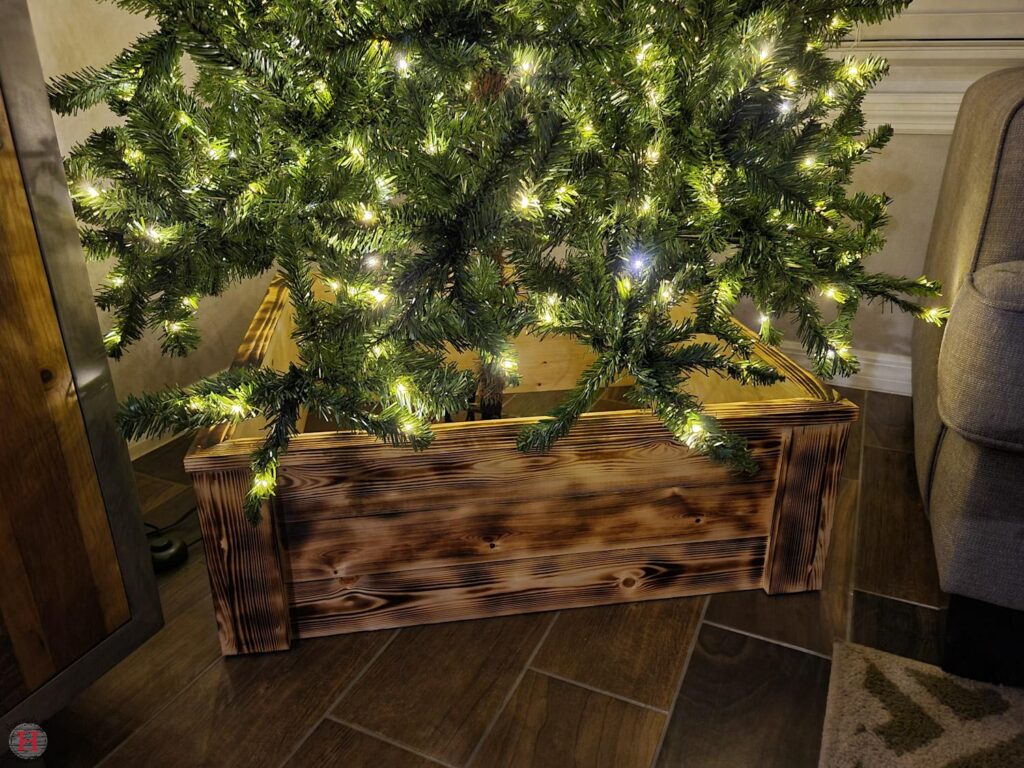
How to Build a Decorative Wooden Christmas Tree Box
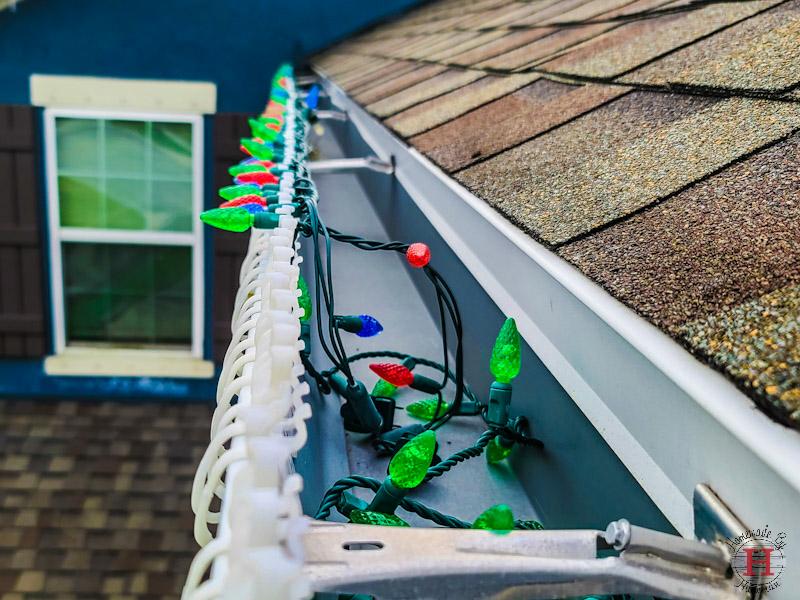
How to Make Your Christmas Lights Look Professional

How to Make a Round Wood Door Sign