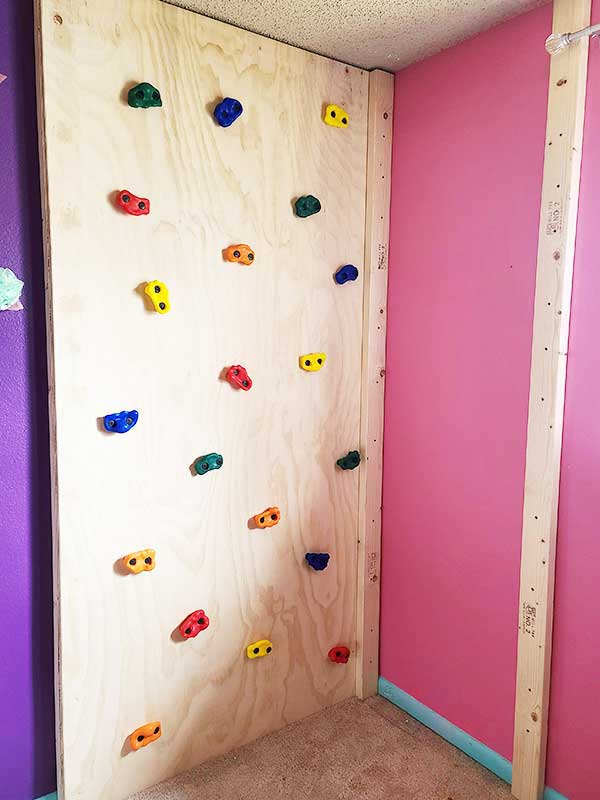
If you have a child that loves to climb, this rock wall is the perfect addition to their playroom (or even bedroom). A playroom rock wall can be as large as you’d like, but we chose to use the width of one sheet of plywood from the floor to the ceiling.
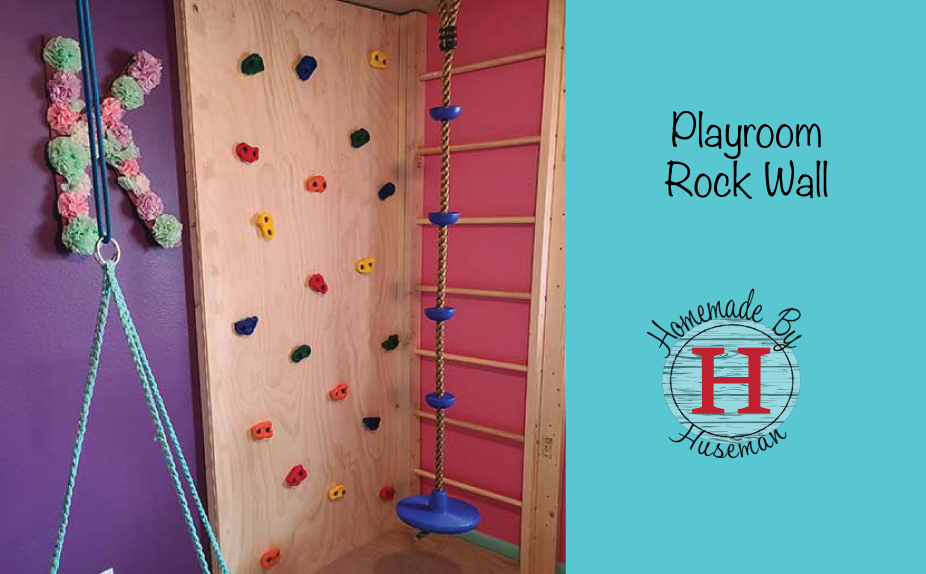
We live in Florida and built this for a friend’s daughter. The inspiration came during COVID-19 quarantine when parks were closed and it was just too hot to be in the backyard all day.
This rock wall gave the exciting climbing element of the parks they missed, while still staying safe at home (an inside with the AC).
Project time:
Approximately 2-3 hours
Materials Needed:
| QTY | Item | Use |
|---|---|---|
| 2 | 2 in. x 4 in. x 96 in. Prime Whitewood Stud | Wall Mount Brackets |
| 1 | GRK #9 x 2-1/2 in. RSS Screws | Plywood to Wall Mount Brackets |
| 1 | 10 oz. Heavy Duty Construction Adhesive | Plywood to Wall Mount Brackets |
| 1 | Cabinet Grade Plywood Panel – 4’X8’ | Rock wall surface |
| 1 | Plastic Wood-X. All-Purpose Wood Filler (Optional) | Filling Cracks and Screw holes |
| 1 | Diablo 400 Grit Sand Paper | Sanding Plywood Surface |
Recommended Tools
- Tape Measure
- Pen or Pencil
- Square or Straight Edge
- Stud Finder
- Circular Saw / Miter Saw / Table Saw
- Drill and/or Impact Driver
- Ridgid Jobmax with Oscillating tool attachment
- Sander and Sand Paper
- Router and Round over router Bit (or other router bit)
- T25 Star Drill Bits (usually included in the GRK Box of screws)
- Hex Drive Drill Bits (Time saver from using an allen Key)
- Standard Caulk Gun
- Putty Knife
- Spade or Paddle Bits
Instructions for a Playroom Rock Wall
- Prep the wall by removing any base boards or looking out for electrical. Try to avoid a plumbing wall, just in case a screw gets driven too far or in the wrong location.
- Using the Ridgid Jobmax Oscillating tool, we cut and removed the base board
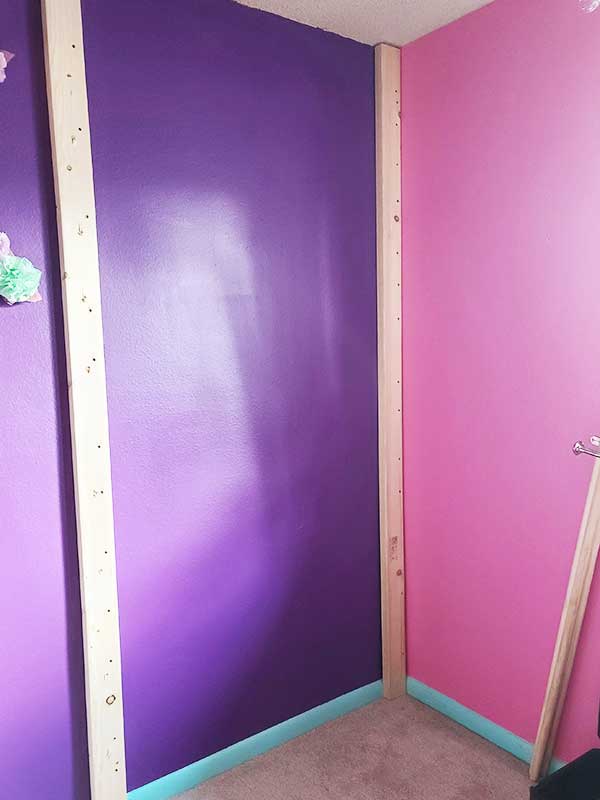
- Find the center of 2 studs or furring strips (depending if you’re attaching the rock wall to a block wall or framed wall) using the stud finder to attach 2 studs vertically
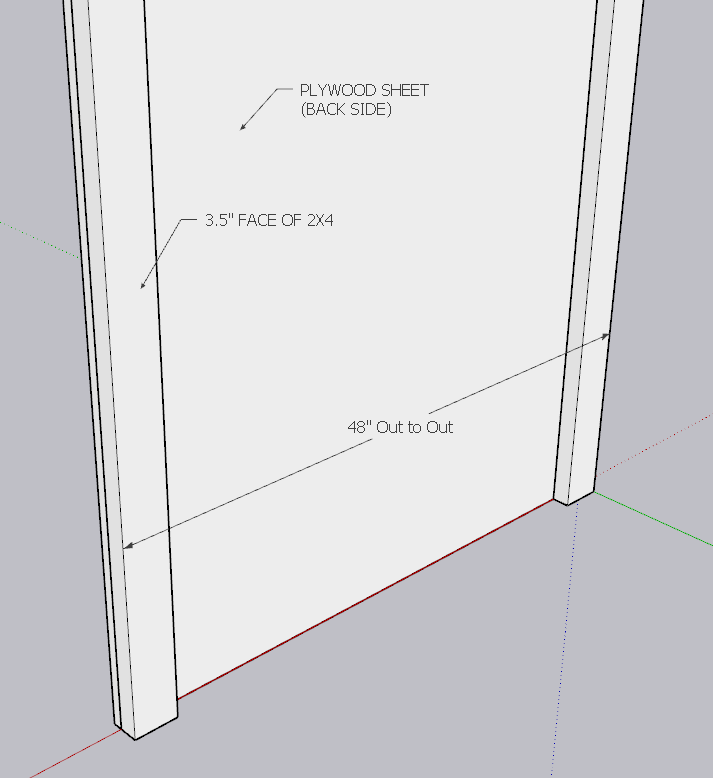
- Attach the 3.5’’ wide face of the 2×4 to the studs or wall furring strip. Your 2×4 studs should be spaced (outside to outside 48’’ apart). This way you only need to cut to length to fit the ceiling height, and you don’t need to do a rip cut (cutting the length of the plywood). In our case, we used #9×2-½’’ into a 1×2 furring strip as this was being built on a block wall.
- Cut your plywood to the correct length to fit your ceiling height. We cut ours to be ¼’’ smaller than the ceiling height to avoid knocking down the popcorn ceiling.
- Use a router with a round over bit (or other design you prefer) and router the exposed edge of the plywood. Since we put this into a corner, we only had to route the left edge. Alternatively, you could sand the corners for a smoother edge.
- Provide a quick sand of the exposed plywood face using 400 Grit Sandpaper. The cabinet grade plywood comes pre-sanded, so it doesn’t take much to get a smooth surface
PRO TIP: If you plan to paint the surface, you’ll want to take a wet, lint free towel or cloth and remove the excess dust after sanding it.
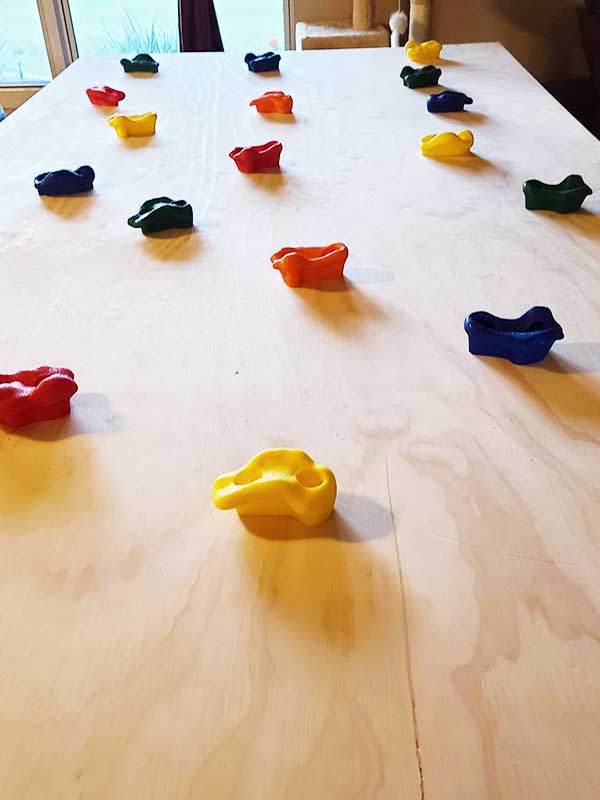
- Installing the provided “rocks” was not an exact science. We kept the first row about 12’’ off the ground, and kept 4’’ clear from each side. Start by laying out the “rocks” in the pattern that you want/desire.
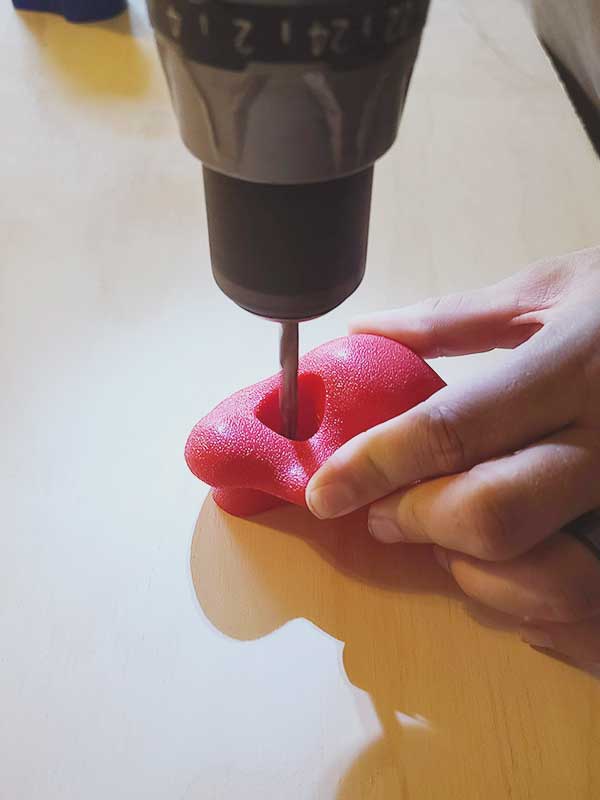
- Drill 2 holes for each stone using a ¼’’ diameter drill thru the plywood. You can leave the “rock” in place while you drill the hole to keep the holes spaced properly
- Drop the provided hex drive screws into the hole(s) and hand tighten the provided T-Nuts just snug with the bottom of the plywood
- Fasten/Tighten the T-Nuts using an allen wrench or an allen wrench drill bit allowing the teeth of the T-Nut to sink into the plywood. We used the drill bit and a RIDGID impact driver to make quick work of this! Use caution not to over tighten the screws, You may end up shearing or snapping off the head of the screw.
- Apply a good amount of PL 375 Construction Adhesive to each 2×4 prior to hanging and attaching the plywood to the vertical studs
- Wrangle the completed plywood rock wall into the room and mount it to the wall. Attach the rock wall using GRK Fasteners #9×2-½’’ screws spaced about 12’’ OC all the way down on both 2×4.
- Fill the holes using a wood filler and give a quick sand to give a clean finish look
Did you make this project? Tell us what you think in the comments and share on social with #homemadebyhuseman.
Ready to add more? Check out our DIY guide for a playroom climbing ladder »
Check out more of our recent projects:
No post found!