We have seen Accessory Dwelling Units (ADUs) gaining immense popularity in recent years as versatile and functional additions to residential properties. Whether you call them backyard cottages, detached in-law suites, or granny flats, ADUs offer homeowners an excellent way to maximize their property’s potential, including earning passive income with a rental property. In this blog post, we will walk you through the process of building an ADU with a contractor and provide examples to help you envision the possibilities.

What is an Accessory Dwelling Unit (ADU)?
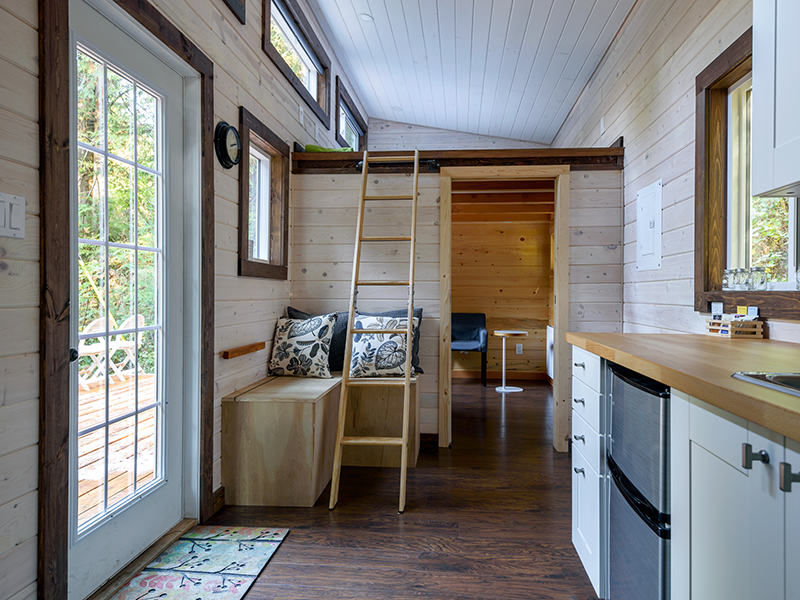
An Accessory Dwelling Unit (ADU) is a self-contained living space that is either attached to or detached from the primary residence on a single-family lot. These secondary units are fully equipped with all the amenities needed for independent living, such as a kitchen, bathroom, and sleeping quarters. ADUs come in various forms, including:
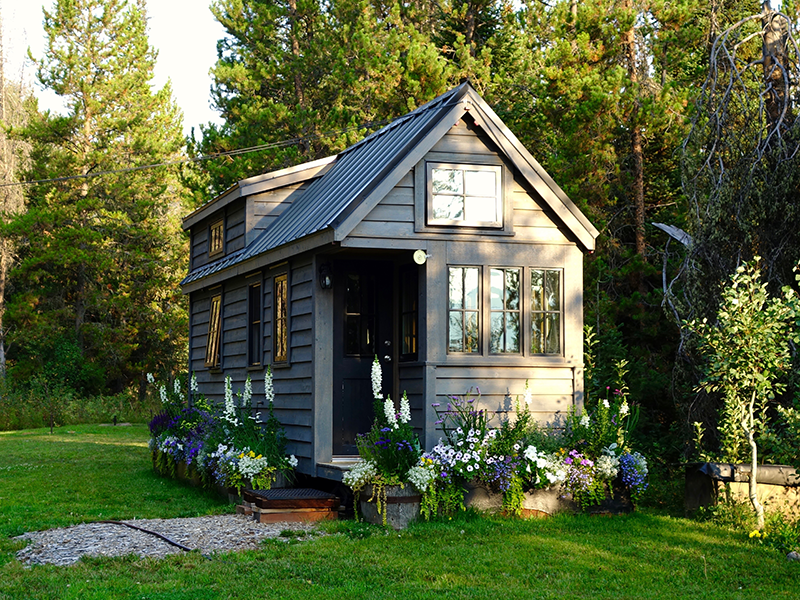
Backyard Cottage: A cozy, standalone structure typically located in the backyard, offering privacy and seclusion.
Detached In-Law Suite: A self-contained unit adjacent to or detached from the main house, designed to accommodate aging parents, visiting family members, or guests.
Granny Flat: Often attached or integrated into the main residence, granny flats are self-contained living spaces that are sometimes converted from existing rooms or spaces within the home.
Now, let’s delve into the steps involved in building your own ADU:
Step 1: Determine Local Regulations and Zoning Requirements
Before embarking on your ADU project, it’s crucial to check local building codes and zoning regulations. Each city and municipality may have its own rules regarding ADUs, including size, setback requirements, parking, and occupancy restrictions. Ensure that your project complies with these regulations to avoid any legal complications down the line.
Homemade By Huseman has experts in local building codes and zoning regulations for the Tampa Bay area, so if you’re interested in building here please reach out and we’ll be happy to help you get started.
Step 2: Create a Design Plan
Before a contractor can start work or pull permits, you’ll need a full set of design plans. Work with an architect or a design professional to create a detailed plan for your ADU. Consider factors like the unit’s layout, size, style, and functionality. Your design should complement the existing property while meeting your specific needs and aesthetic preferences. You will also want to meet with a surveyor to draft your plot or site plan showing the location of the ADU on your property.
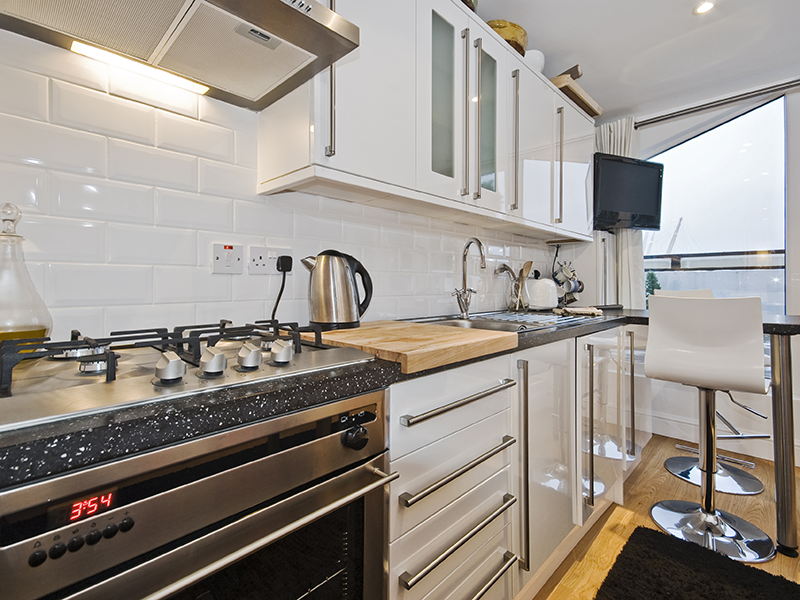
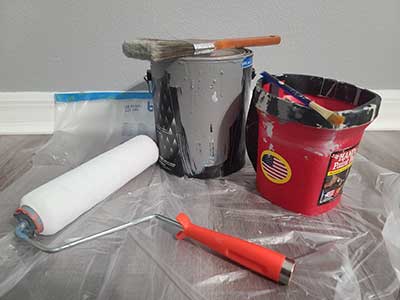
In addition to architectural design, this is a good time to start thinking about interior design finishes. Things like flooring, tile work, cabinetry, appliances, and paint colors.
Step 3: Secure Financing
ADU construction can be a significant investment, so it’s essential to secure financing for your project. Options include personal savings, home equity loans, construction loans, or ADU-specific financing programs if available in your area.
Having a plan and a budget will help your contractor determine if their estimates can stay within your desired budget. Here at Homemade By Huseman, we typically make every effort to meet a client’s budget and will often suggest additional cost-saving options if your original plan does not work with your budget.
Step 5: Hire a Contractor
Select a reputable contractor experienced in ADU construction. You may want estimates from multiple contractors to compare options. Ensure they are licensed, insured, and have Workers’ Compensation. Collaborate closely with your contractor throughout the project to ensure your vision is realized.
In Florida, we strongly encourage you to check and verify the License on the DBPR website.
Step 5: Obtain Permits
Once you have your design, financing, and a contractor in place, you’ll need to obtain the necessary permits and approvals from your local government. This process may include submitting architectural plans, conducting soil and structural inspections, and paying permit fees.
A licensed contractor should make this process as simple and seamless as possible. When you hire a licensed contractor they should be using their license to pull the permits.
NOTE: If the contractor is asking for you (the owner) to pull permits, this should be a red flag.
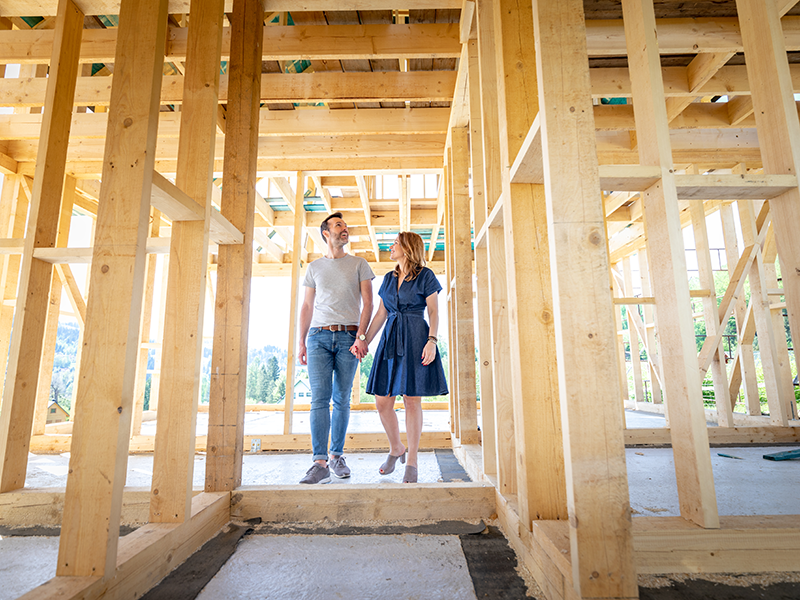
Step 6: Construction
During construction, the ADU will take shape according to the approved plans. This phase includes foundation, framing, plumbing, electrical work, insulation, interior finishing, exterior cladding, and landscaping if needed.
Your contractor will likely hire additional teams with the appropriate licenses and county inspections for the work needed, these teams are called subcontractors and they’re managed by your contractor. Timing for the process can vary by location, size of the project, and material availability, but your contractor should be able to give you a rough schedule and keep you updated as the construction progresses.
Step 7: Inspection
Local building inspectors will review your ADU at various stages of construction to ensure it complies with the engineered plans, construction documents, safety, and building codes. If there are any errors or corrections needed, your contractor will make the necessary adjustments before reinspection.
Step 8: Final Touches
With the construction complete and inspections passed, it’s time for the final touches. You may also hear this called “punch out.” This includes interior and exterior finishing, landscaping, and any additional amenities you wish to include that were not part of the structural plans.
Step 9: Move In and Enjoy
Once your ADU is complete, it’s time to move in or welcome tenants. Enjoy the extra space, rental income, or the convenience of having family nearby in your beautifully constructed ADU.
Building an Accessory Dwelling Unit can be a rewarding and practical addition to your property. Whether you envision a backyard cottage, detached in-law suite, or granny flat, careful planning and adherence to local regulations will ensure a successful project. ADUs not only offer increased living space but also potential rental income and enhanced property value.
If you’re ready to start building an ADU in the Tampa Bay area, please give us a call at (813) 767-1397 or use our Request A Consult form, and we’ll be happy to answer your questions, guide you through the process, and make your plans come to life.

A Homeowener’s Guide for Building an Accessory Dwelling Unit
8 Tips for Painting a Room (that make it suck less)
How to Make Your Christmas Lights Look Professional
How to install shiplap when your wall isn’t straight