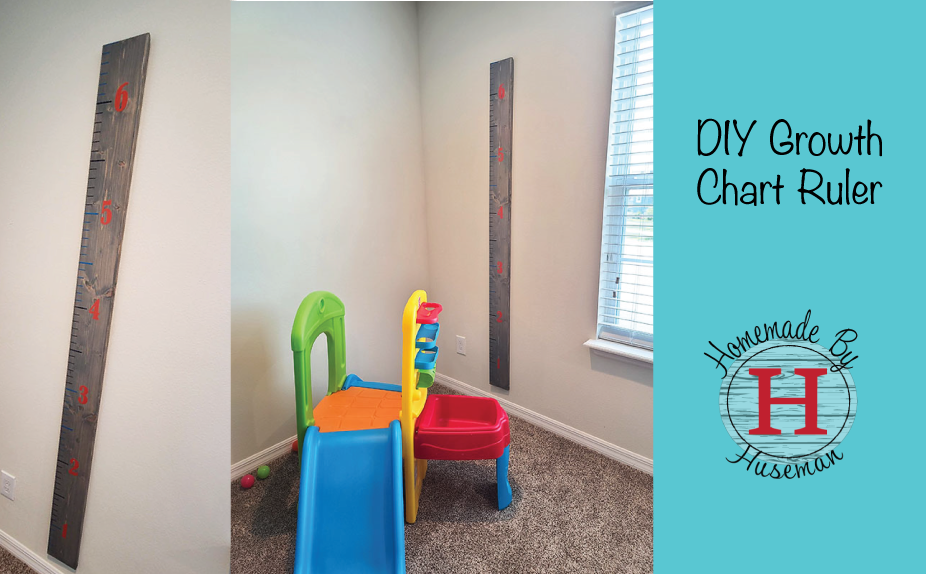
A DIY growth chart ruler is not only fun to make, but it’s the perfect way to track your child’s height like you would on a door jam, but in a beautiful display that you can take with you no matter where you move.
Growth chart rulers look like a giant wooden ruler with marks each inch and foot to easily measure and mark your child’s height. The instructions below share how you can easily (and quickly) make a DIY growth chart ruler with the help of a Cricut.
On ours we’ve added all of Jeremy’s lengths from his first year of doctors appointments and will continue to measure his growth for years to come. It’s been a fun addition to the play room. Plus, if there’s ever a baby Huseman #2 we can add those lengths and heights to compare both babies.
Project Details
Project time: 3-4 hours
Skill Level: Beginner
Materials:
- 1 6ft. 1×6 select pine
- Sander
- Router (optional)
- Wood stain (optional, we used Weathered Gray)
- Permanent vinyl
- Cricut & Design Space
- Transfer tape
- A tape measure
- Pen
- Interior oil based polyurethane for wood
- Saw tooth hanger and nail (optional)
Directions:
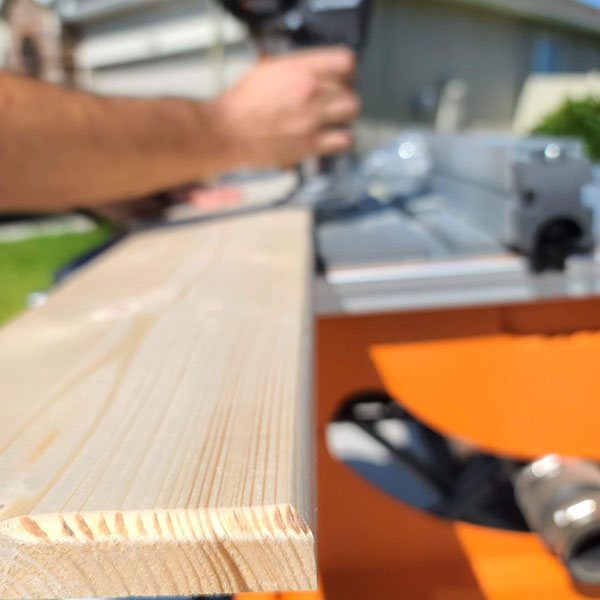
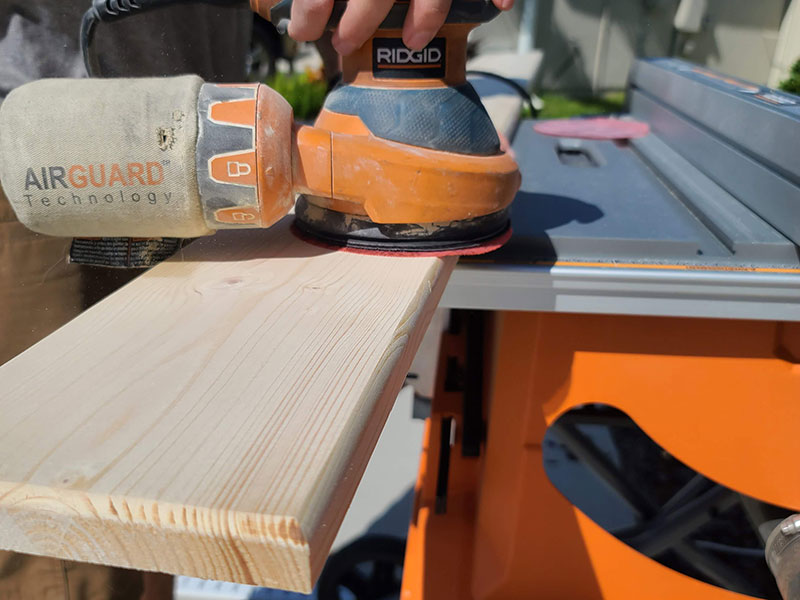
Prep the board
Sand the 6 ft. 1×6 select pine board so it’s smooth. We use select pine for it’s white wood look with minimal knots. Making the wood smooth will help your vinyl more easily adhere to the wood. If you’d like, you can also use a router or sander to round out the edges for a smooth edge.
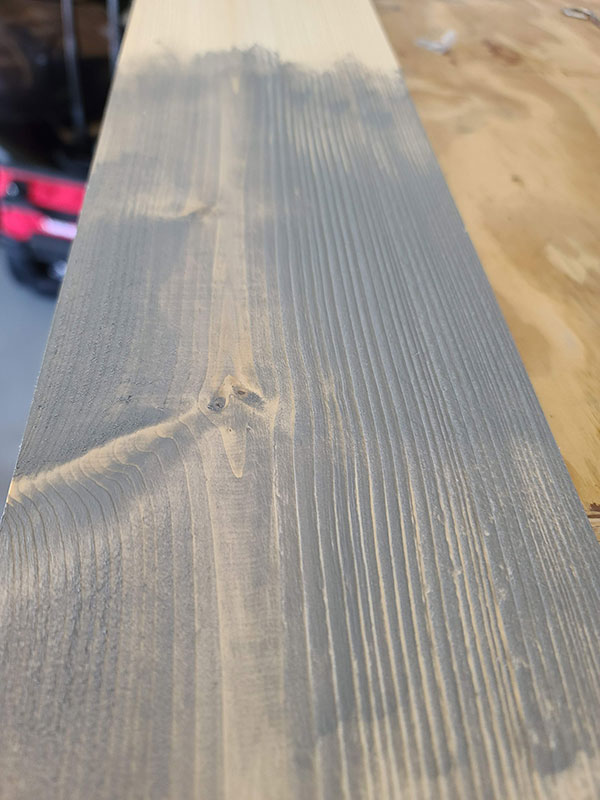
You can leave the raw wood look if you prefer it, but if you’d like to stain it you can do this now. I recommend using a light and opaque stain so it’s easy to see your pen marks as you track your child’s height.
Create the tick marks and numbers
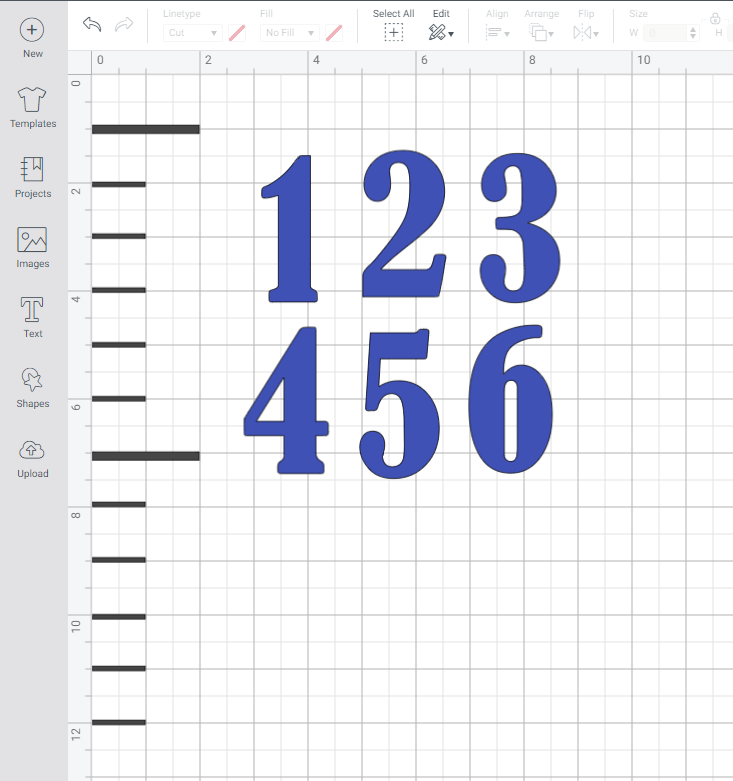
In design space, create thin rectangles as your ruler tick marks and place them one inch apart. You can create 2 or 3 of these on one mat and then place them on your board one foot at a time. Use a permanent vinyl and follow the directions in design space to cut with your Cricut.
Ensure you attach your lines so they maintain the same distance making it easy for accurate spacing on your board.
Next create your numbers, 1-6 in a font you like in design space, then follow the directions to cut with your Cricut.
Add the vinyl to the board
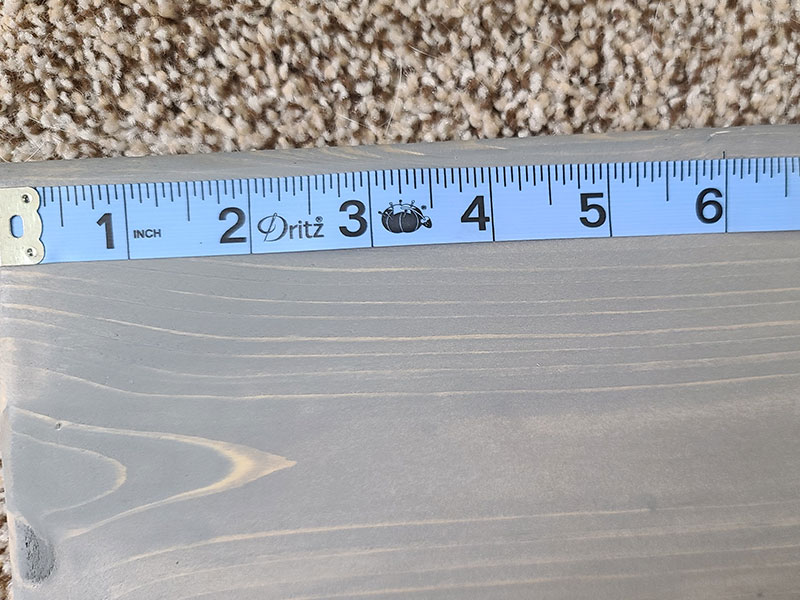
While your cricut does the cutting, run a tape measure along your 6 ft. board and make a small a small mark every 6 inches along the side of the board you plan to place your ruler tick marks.
If you’re planning to hand the board on a wall, you may want to consider starting it at the 6 in. mark, meaning your 1 ft. mark would be 6 in. from the bottom of the board.
Since you designed your tick marks in cricut to be 1inch apart, you’ll use the 6in tick marks to ensure you’re aligning each 1 ft section correctly.
Weed your tick marks and numbers and use a transfer tape to place them on your board. Ensure you’ve firmly pressed your vinyl in place. You’ll want to align your tick marks evenly along one side of the board.
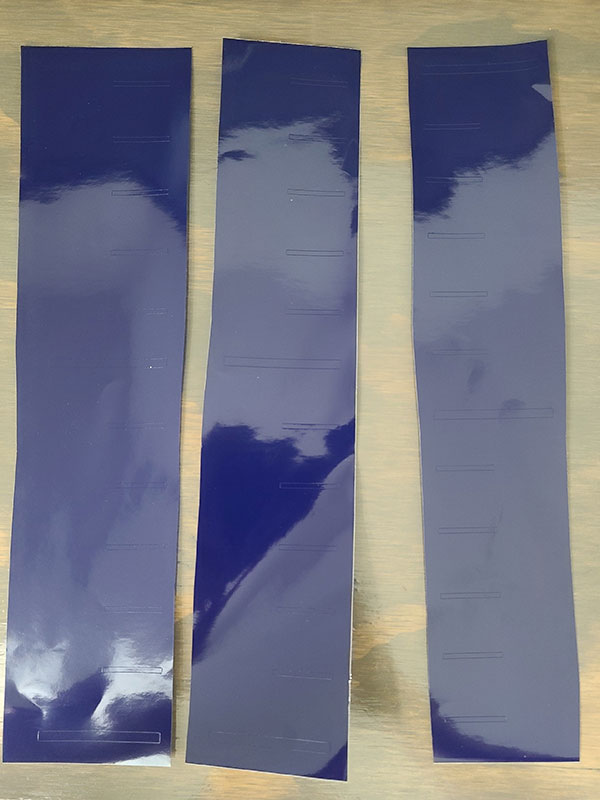
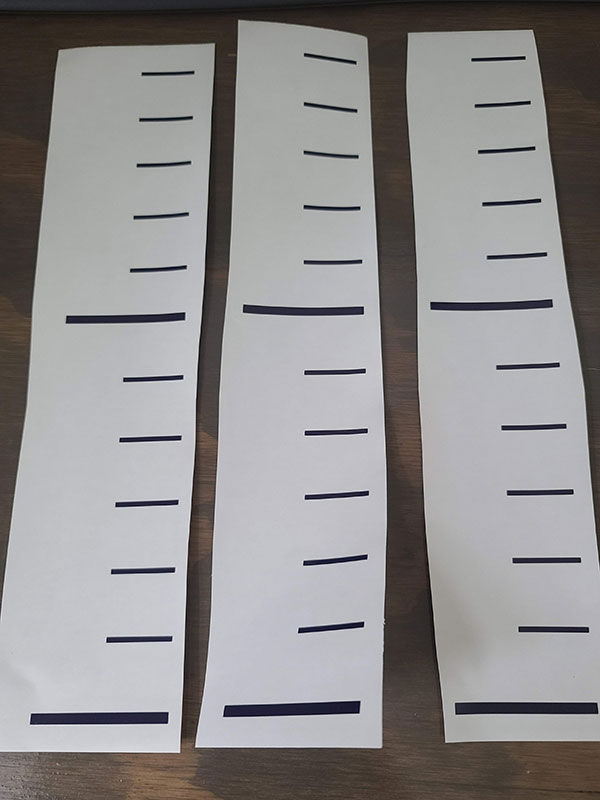
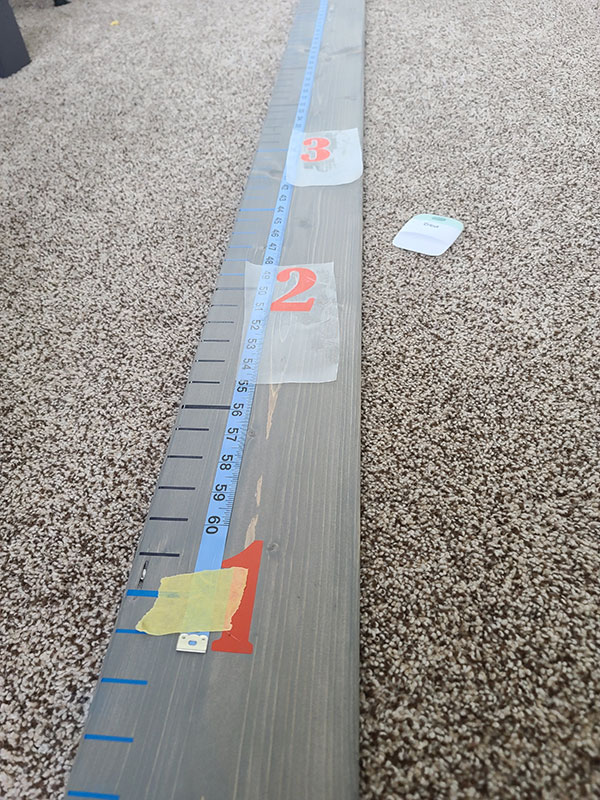
Then, place your numbers at each 1 ft. mark. Again using the transfer paper. To keep the numbers in line, I used my tape measure as a guide.
Once your vinyl is placed you can coat your board in poly urethane to seal it and prevent your vinyl from peeling over time.
Hang the board
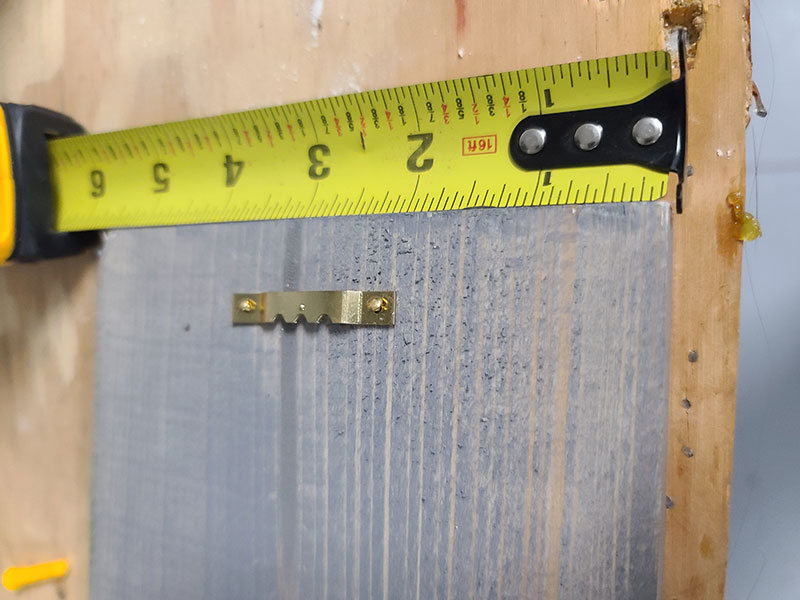
Attach a sawtooth hanger to the back of your board and use a nail to hang your board. Keep in mind if you started your board at 6 inches, you’ll want to hang it 6 inches off the ground. If you started your board at 0, then you’ll want the board to touch the ground.
You could also use a velcro adhesive strip for easy application and removal. I would recommend some type of velcro strip at the bottom or two sawtooth hangers at the top to prevent it from swinging.
Did you create this project? Share your thoughts in the comments and share on social media with #HomemadeByHuseman.
Ready for a new project? Check out some of our other DIY projects below.
No post found!
This is awesome! Great for families with young children.
LOVE THIS! Thank you for such a detailed plan! I can’t wait to make one of these, I love making all things with my Cricut!