Chocolate chip cookies from scratch are what I consider my BEST baked good. They’re always a hit and I’ve been using the same recipe that I’ve perfected over the years for as long as I can remember.
I had to find a new twist for it this time around though. My 11 month old son has a dairy and soy allergy and I finally brought myself to adapt this perfect recipe to being dairy and soy free – and it didn’t disappoint.
The biggest changes are the chocolate chips and butter. Normally I’d use regular unsalted butter, but in this recipe I used Earth Balance Soy Free Buttery Spread. Something I’ve found when baking with butter substitutes is it’s best to have more than 65% vegetable oil for the best consistency. Dairy-free butter substitutes also tend to already be soft, so there’s no need to let them sit out for softening. This also means they tend to be a little more oily, so I use a little bit more flour than normal to help the batter have the right consistency. You don’t want to over do the extra flour though, because you risk compromising the flavor.
For chocolate chips I use Enjoy Life Dark Chocolate Morsels. I tend to prefer dark chocolate, but they make a semi-sweet that you could use as well. Enjoy Life is one one of my favorite allergy-friendly brands because there is absolutely no compromise on taste.
When it comes to preparing the batter, I mix my dry ingredients first. Then in a separate, large bowl I combine the butter and sugars with my mixer, then add in the egg and vanilla to the butter and sugar and mix until combined. I then slowly add the flour mix with the mixer on low. This helps to have the batter combine evenly and also avoid the big cloud of flour when you turn the mixer on. Mix just until well combined, to avoid letting the batter get too runny as the butter-substitute breaks down.
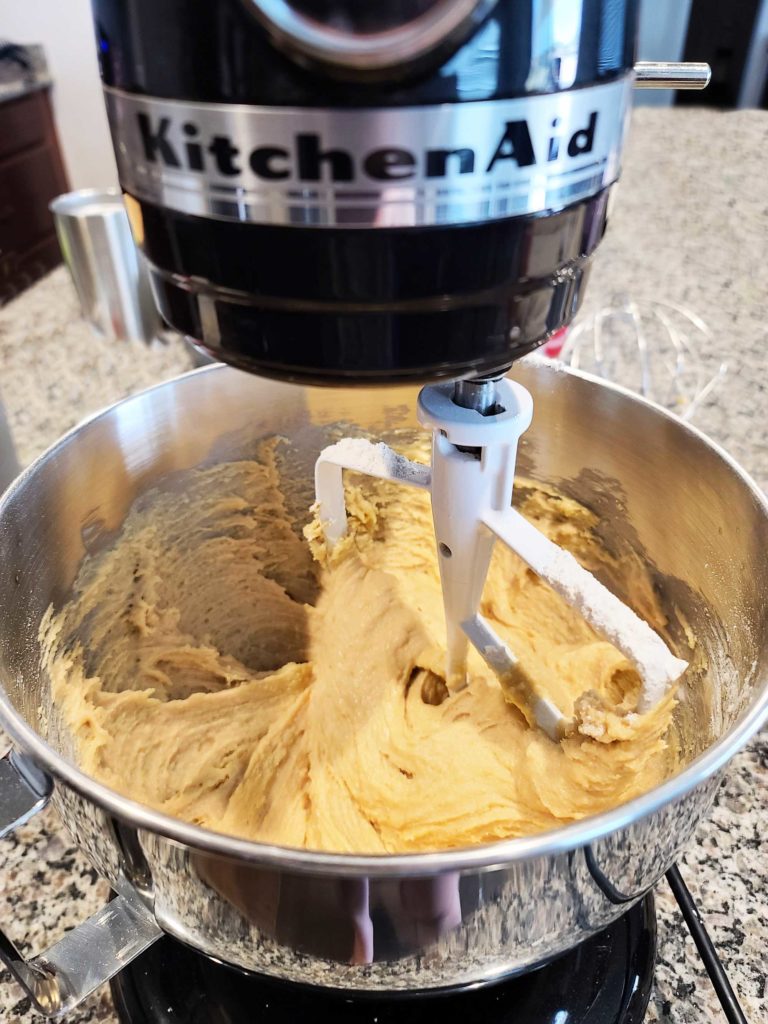
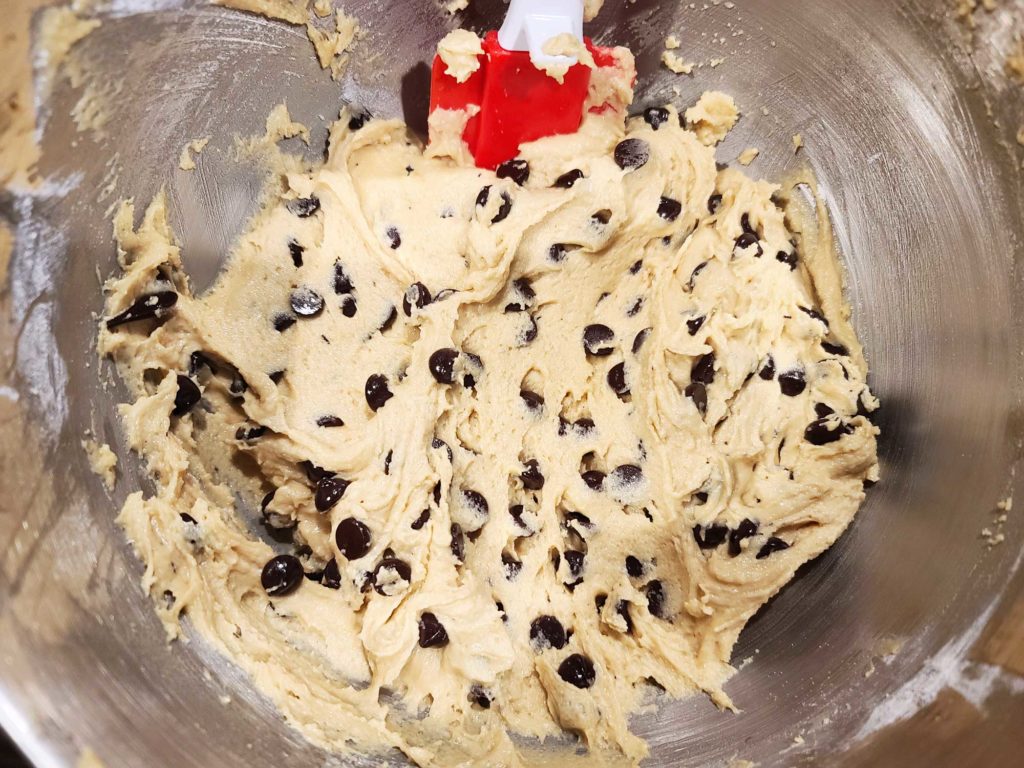
Once the batter is mixed it should have a paste-like consistency. Dry enough that it makes peaks or you could make a ball for a regular cookie. Then fold in the chocolate chips. Don’t use a mixer because it might chop up the chips.
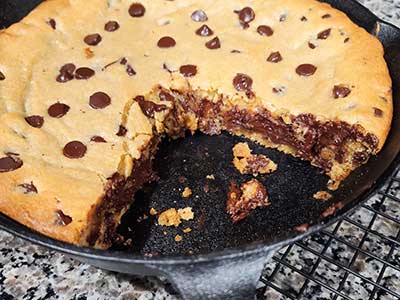
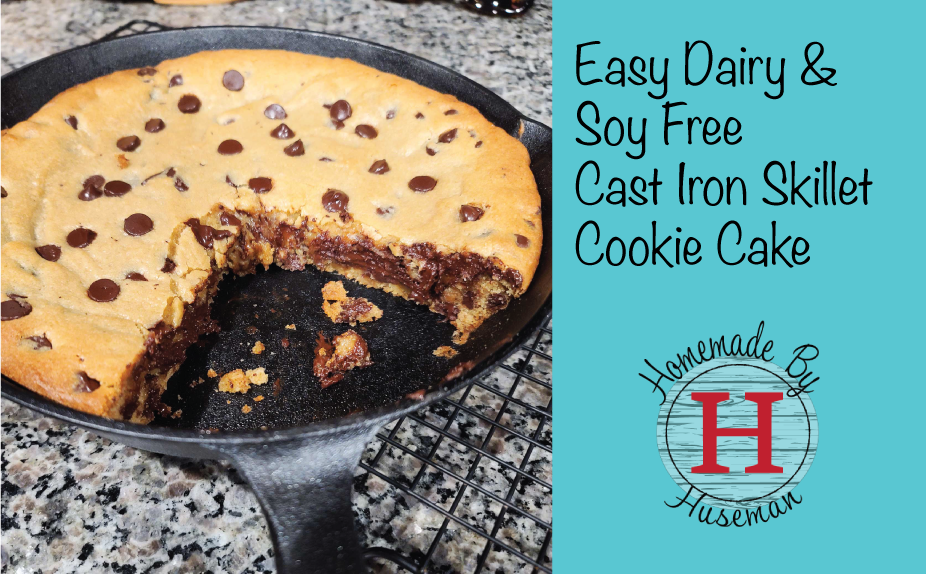
There’s two options for baking this cookie cake. You can put it in a cast iron skillet if you like the idea of a “deep dish”-type cookie cake which will you a soft center. This is what’s pictured and my personal favorite because I like a dense cookie. Or you can bake it on a round cookie sheet for a larger cake, but thinner. This option will bake more like a normal cookie and it bakes a little faster.
Once it’s done baking you should have a golden brown top with a little bit of a crispy crust. Allow it to cool completely before cutting into it (if you can resist!) or before decorating with frosting. It’s best to put it on a cooling rack, so the pan can cool evenly. It will continue cooking and firm up as it cools after you pull it out of the oven. Be sure not to leave it on top of the warm oven.
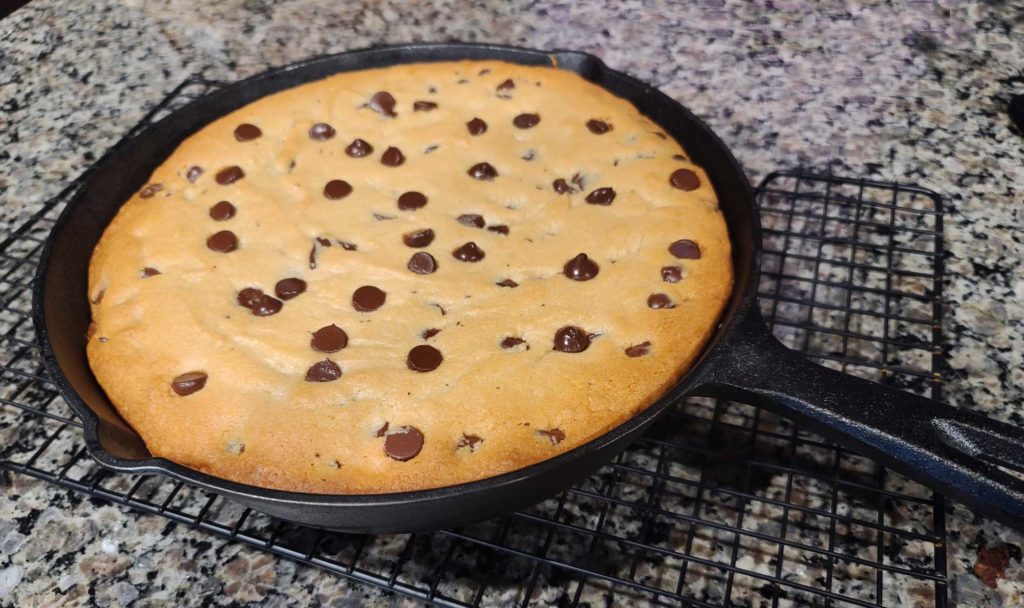
Enjoy!
Ingredients
- 2.5 cups Flour
- ½ tsp Baking Soda
- 1 tsp Salt
- 1 cup Butter Substitute (I use Earth Balance Soy Free Buttery Spread)
- ½ cup Sugar
- 1 cup Brown Sugar
- 2 tsp Vanilla
- 2 Large Eggs
- 2 Cups Dairy & Soy free chocolate chips (I use Enjoy Life)
Directions
Preheat the oven to 350° and place a rack in the middle. Lightly oil and flour your pan.
In a medium-size bowl, mix the flour, baking soda and salt
In a large bowl or mixer, combine the butter substitute with the sugars. Mix on medium for about 1 minute.
Add the vanilla and eggs to the sugar mix and mix on medium for about 30 seconds
With the mixer on low, slowly add in flour, scraping the sides as necessary.
Once all the flour is added, mix for about 2 more minutes or until will combined and firm
Fold in the chocolate chips, reserve about a handful to place on top
Place the batter in the center of your pan and spread it evenly from edge to edge
Use the extra chocolate chips to sprinkle on top (this is mostly for looks)
Bake at 350° for about 10-15 minutes if using a large cookie sheet, or 25-30 minutes if using a cast iron skillet.
Cookie should have a soft golden brown top and firm crispy edges
Remove from heat and allow it to cool on a countertop for at least 20 minutes before cutting or frosting.

