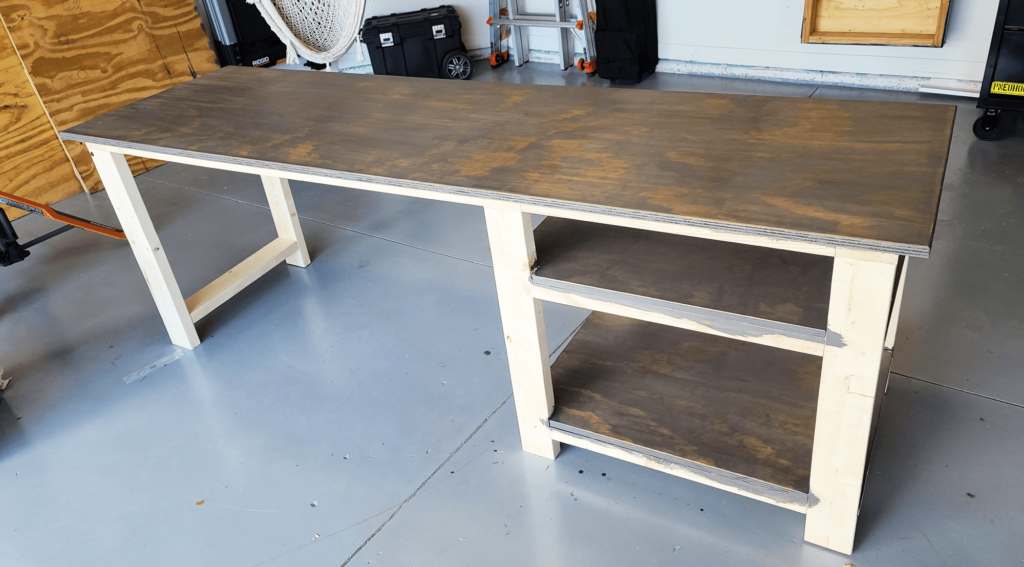
When we built our wood desk we knew it would need a paint and stain finish for a professional look. We decided to stain the shelves and desktop since the wood grain was too beautiful to cover up, and we painted the legs with a solid color.
For starters, we gave the entire desk a good sand to make sure it had a smooth finish before putting any finishing touches on it.
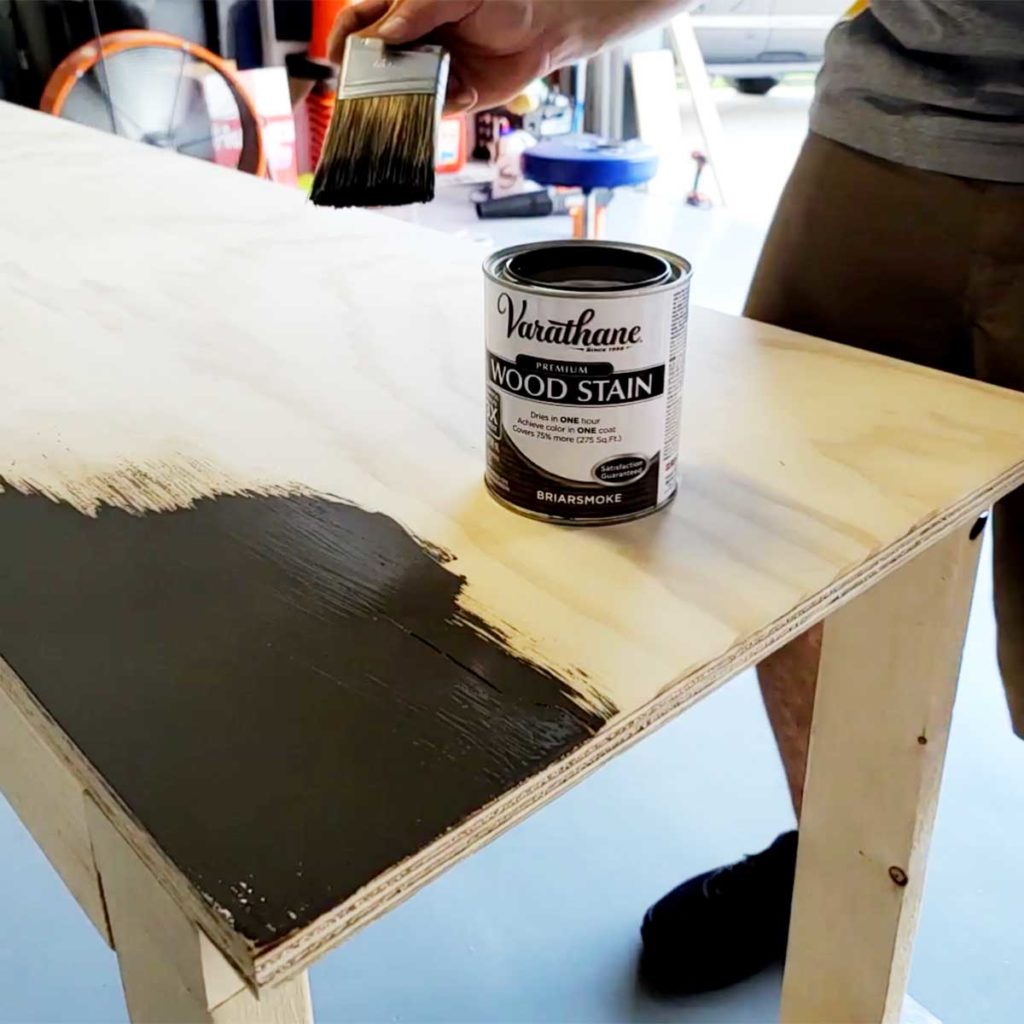
We then started with the stain knowing it’d be a little more messy and harder to control. Plus if stain got on the legs it was easy to cover up with the paint.
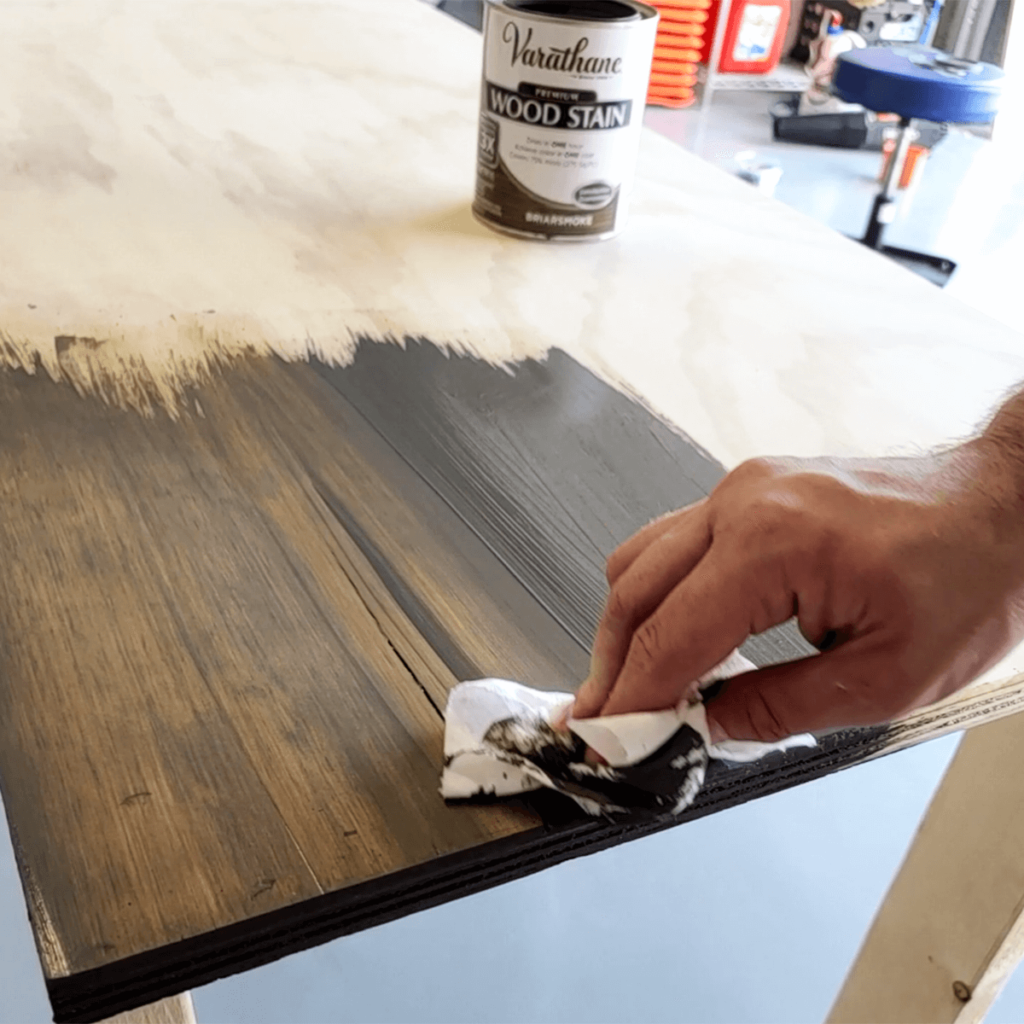
We used Varathane Briarsmoke Premium Fast Dry Interior Wood Stain that we found at our local Home Depot. Because it’s fast dry we found we have to work quickly and it was more easily done with two people, one to brush it on and one to follow behind and whip the excess with a paper towel after about 3 minutes. The less time it stays on, the lighter the finish (which we preferred).
QUICK TIP: This stain will stain your hands (and arms and legs if you’re messy like me). I would strongly recommend a pair on nylon gloves to avoid having to scrub your hands for days.

It was helpful to remove the stain finish with a heavy duty paper towel (Box of Rags is what we keep on hand). I wouldn’t recommend a reusable rag as the stain quickly became too dense on the paper towels to use one for the whole table top. A paper towel that tears too easily would also probably leave little paper bits in your finish.
We went over the whole surface with the paper towels multiple times to make sure everything was even and didn’t leave lines.
Since this was going to be a desktop, it was important to have it sealed for a smooth finish to to prevent stain or water rings from spills. Because… you know, life happens.
Before sealing, let the stain dry completely.
While we waiting for the stain to dry we started working on the legs and frame. For a smoother finish and to avoid showing cracks in the wood, screws, and wood knots, we went over any imperfects with wood filler.
Once the wood filler was dry, we painted with a Glidden Interior Semi-gloss paint. We like this paint for interior finishes because it has a strong durability and gives a solid coat so you only need one or two coats for an even finish.
By the time the legs were dry, so was the stain and it was time to apply the sealer. Take your time, and do this carefully for a smooth and even finish.
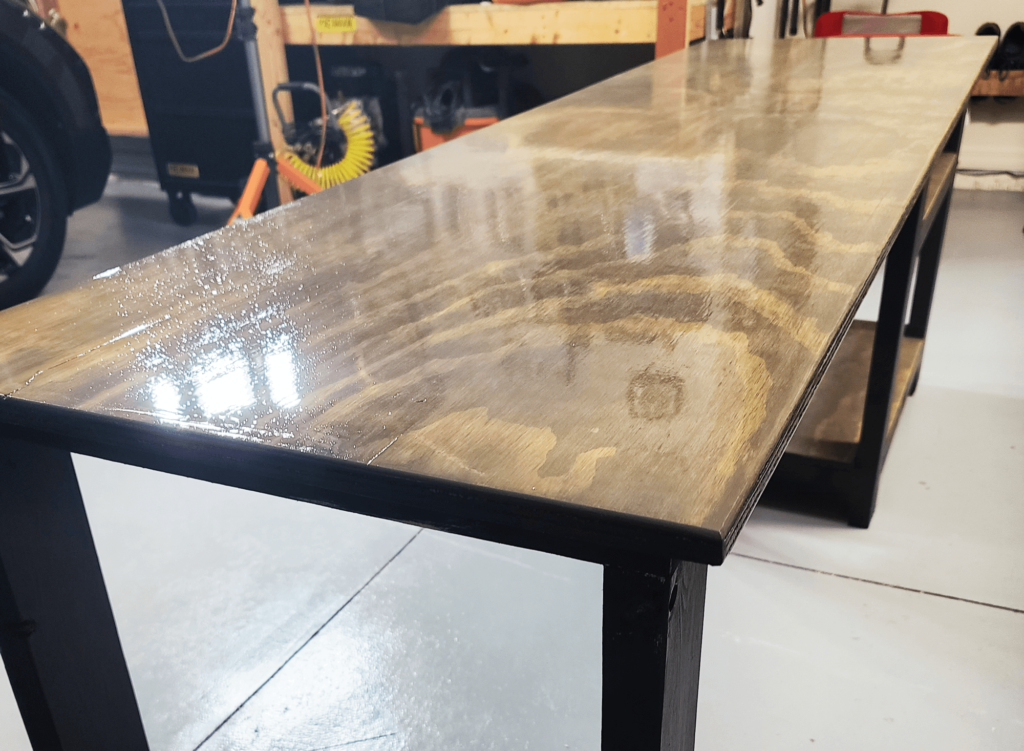
We use Old Master Oil-Based Polyurethane which gave it a good seal and a beautiful shine. It’s also self leveling so you don’t have to stress about brush stokes in your finish.
We let the stain dry outside and in the garage until it was just a bit tacky, then we found brining it inside helped finish the curing process since we live in a humid area.
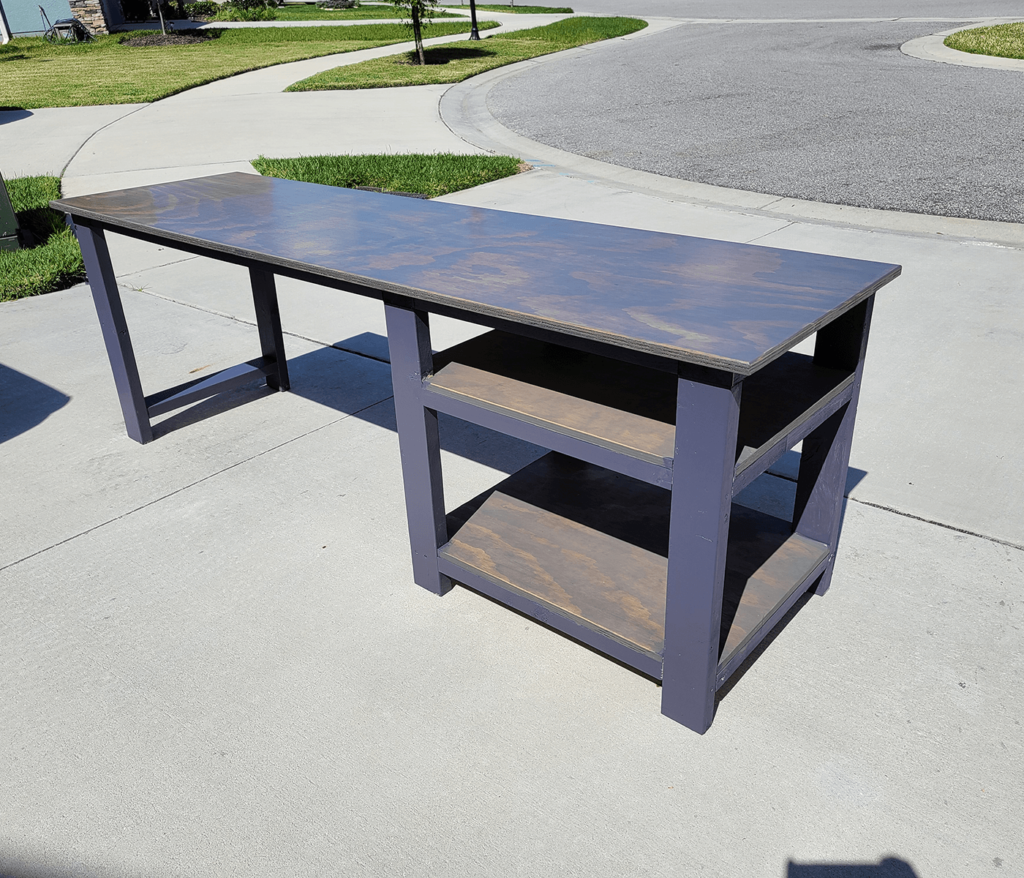
Once the paint and sealer were dry – this wood desk was ready for use! Tell us what projects you’ll use this paint and stain finish technique on.
Like this desk? Learn how to build it »